


In the realm of technology, 3D printing technology has become a sign of innovation, reshaping the way we conceive, design, and produce objects. As enthusiasts, creators, and industry professionals seek the perfect 3D printers. I started my 3D printing journey in 2021. At that time there were limited options for 3d printers but in 2024 we had lots of options to purchase a good 3D printer.
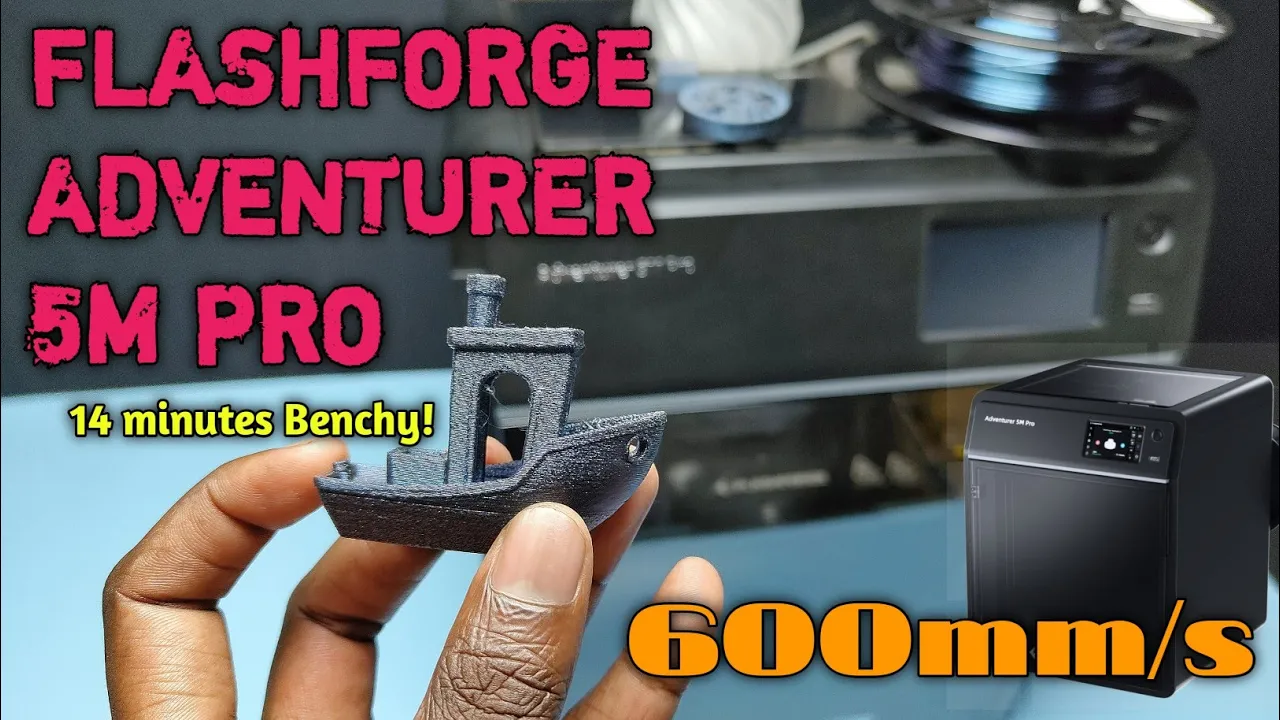
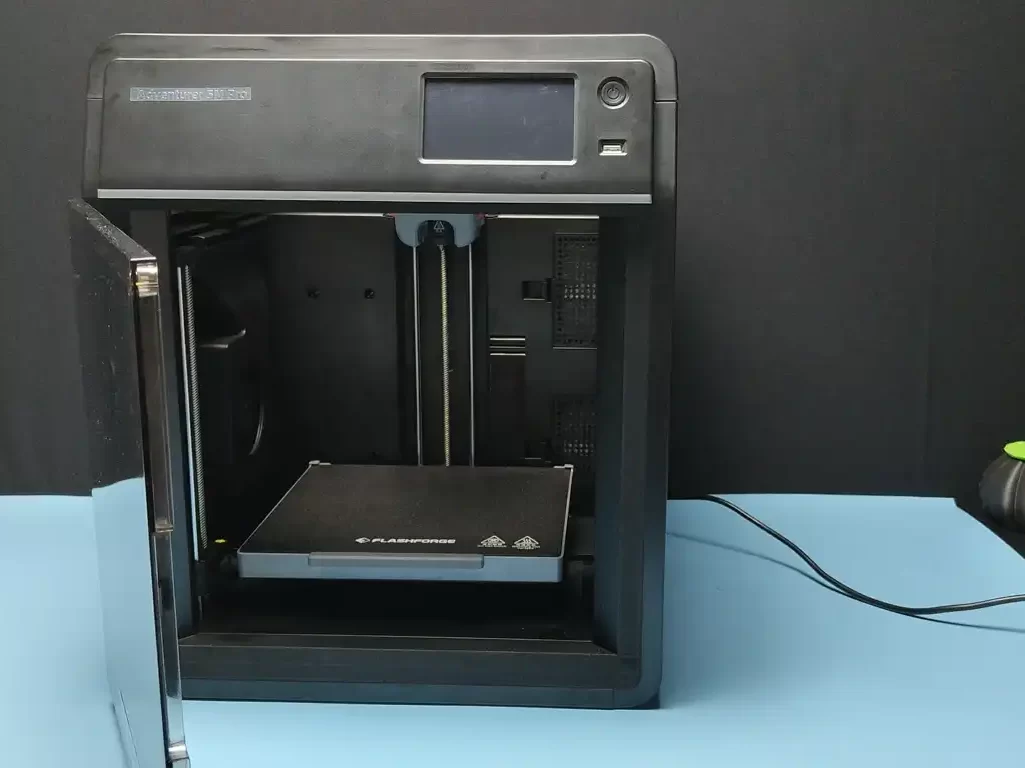
In November Flashforge released their new Adventurer 5M pro 3D printer. This is a silent enclosed core XY 3D printer capable of printing a benchy in 14 minutes. Yes, it has 600mm/s speed and 20K acceleration. We can set up this printer within just 10 minutes and it has one-click auto bed levelling, dual air filtration, a quickly changeable nozzle, an inbuilt camera, a 4.3-inch colour touch screen,220 x 220 x 220mm build volume etc. So in this article let’s see the full details of this Flash Forge adventure 5M pro.
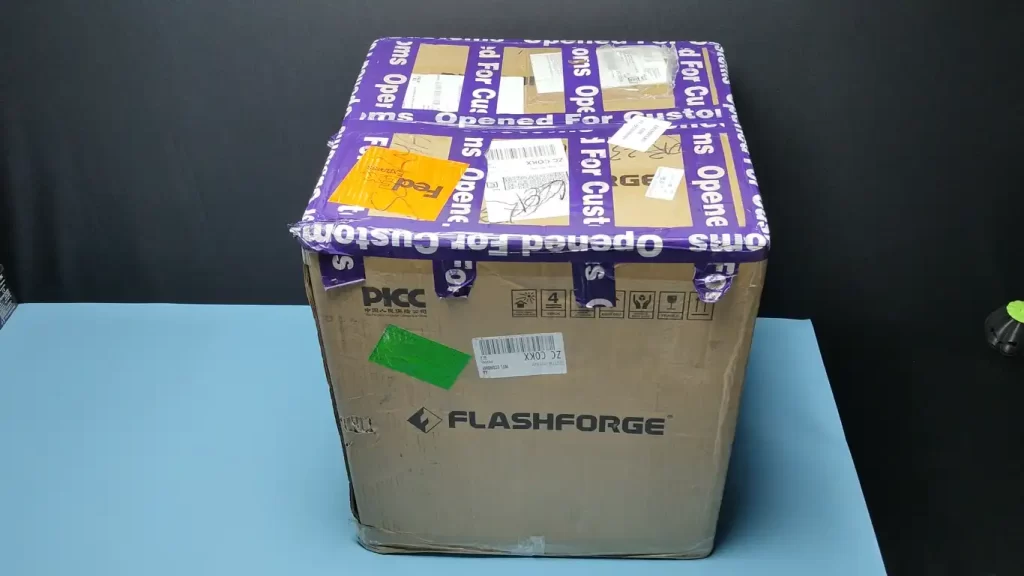
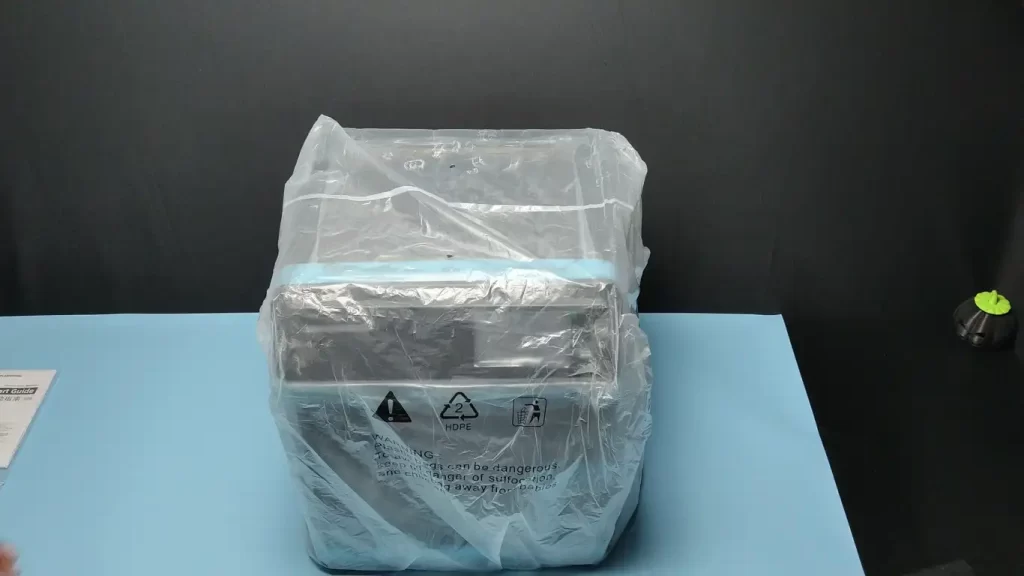

The printer comes in a half-meter cube cardboard box. After opening it first I got the manual with a pen drive. The printer came here with zero damage because of the good packaging. This printer weighs about 18kgs. The size of this machine is about 380 *400 *453mm and the complete body is made of metal except for the windows.
SPECIFICATIONS
| Max Extruder Speed | 600mm/s |
| Max Acceleration | 20000mm/s² |
| Build Size | 220*220*220mm |
| Max Extruder Temperature | 280°C |
| Max Platform Temperature | 110°C |
| Printing connection | Wi-Fi; Ethernet; USB |
| Display | 4.3-inch, LCD touch |
| Printing connection | Full-auto one-click levelling |
| Power Supply | AC 100~240V,50/60Hz,350W |
| Camera | YES |
| Filaments | PLA,PETG,ABS,ASA,TPU,PLA-CF,PETG-CF |
| Others | Air filtration, filament sensor, Auto shutdown |

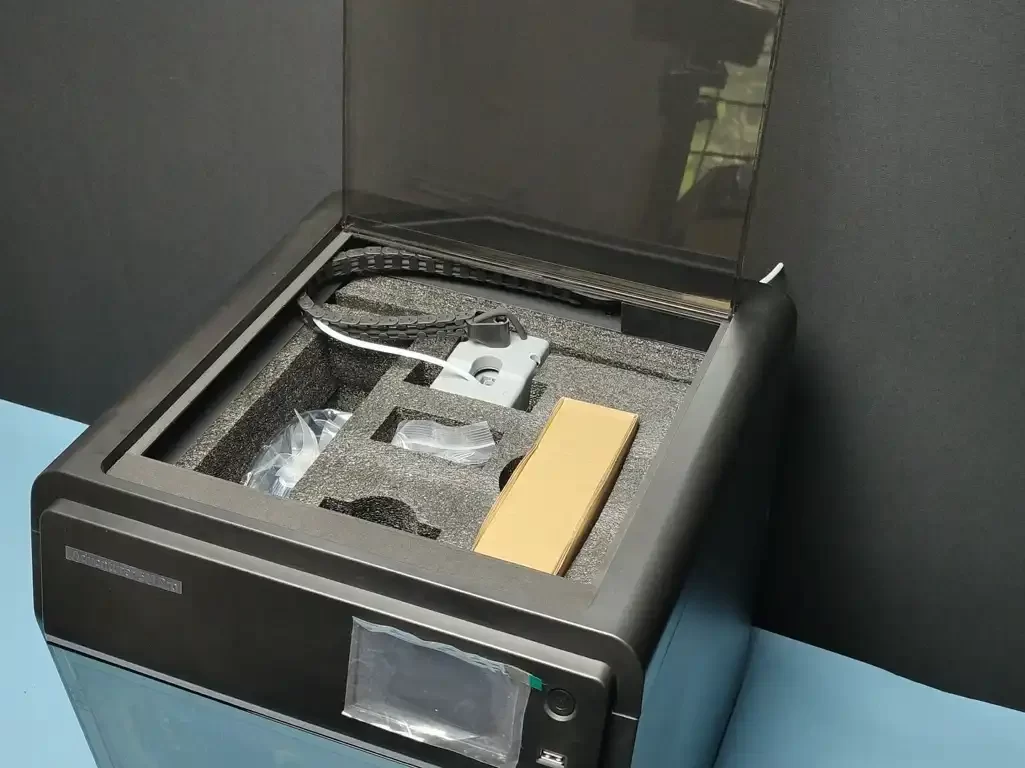
On the back side, we have the slot for the spool holder and the other slots for adjusting the belt, then the ethernet socket, power button, and power socket. On the downside, we can see the stepper belt-driven mechanism. After removing the protective stickers from the printer I opened the top window. Inside the printer, we can see the accessories.
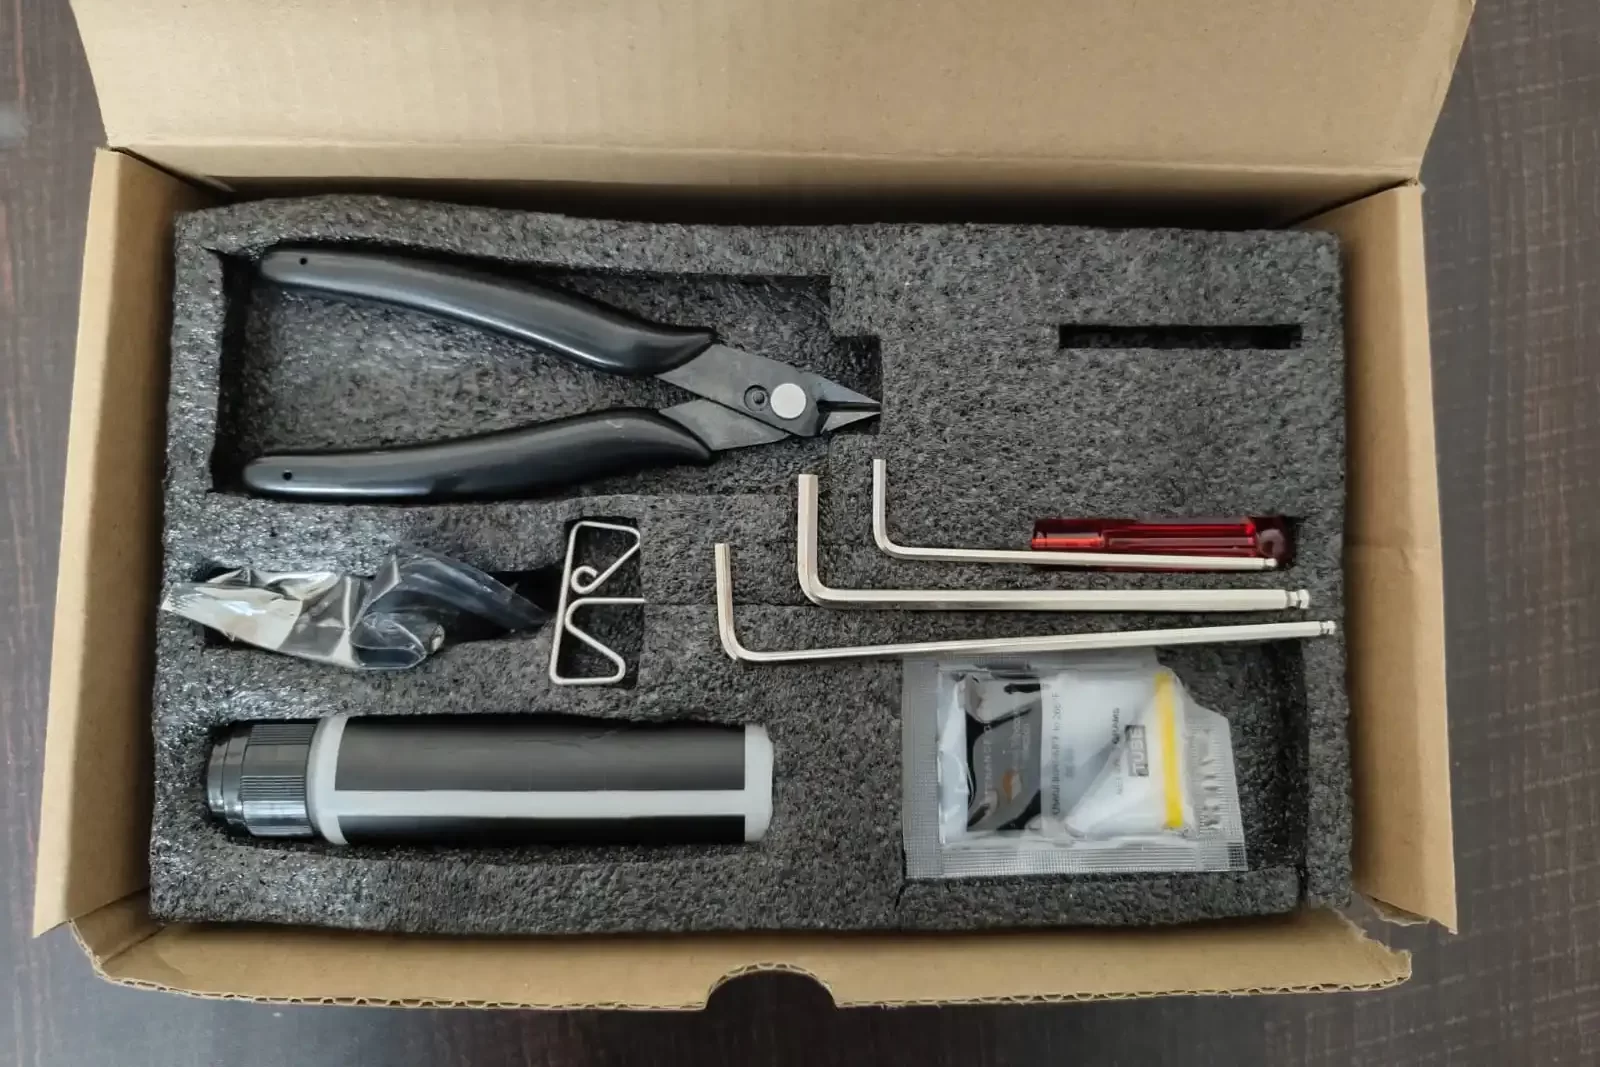
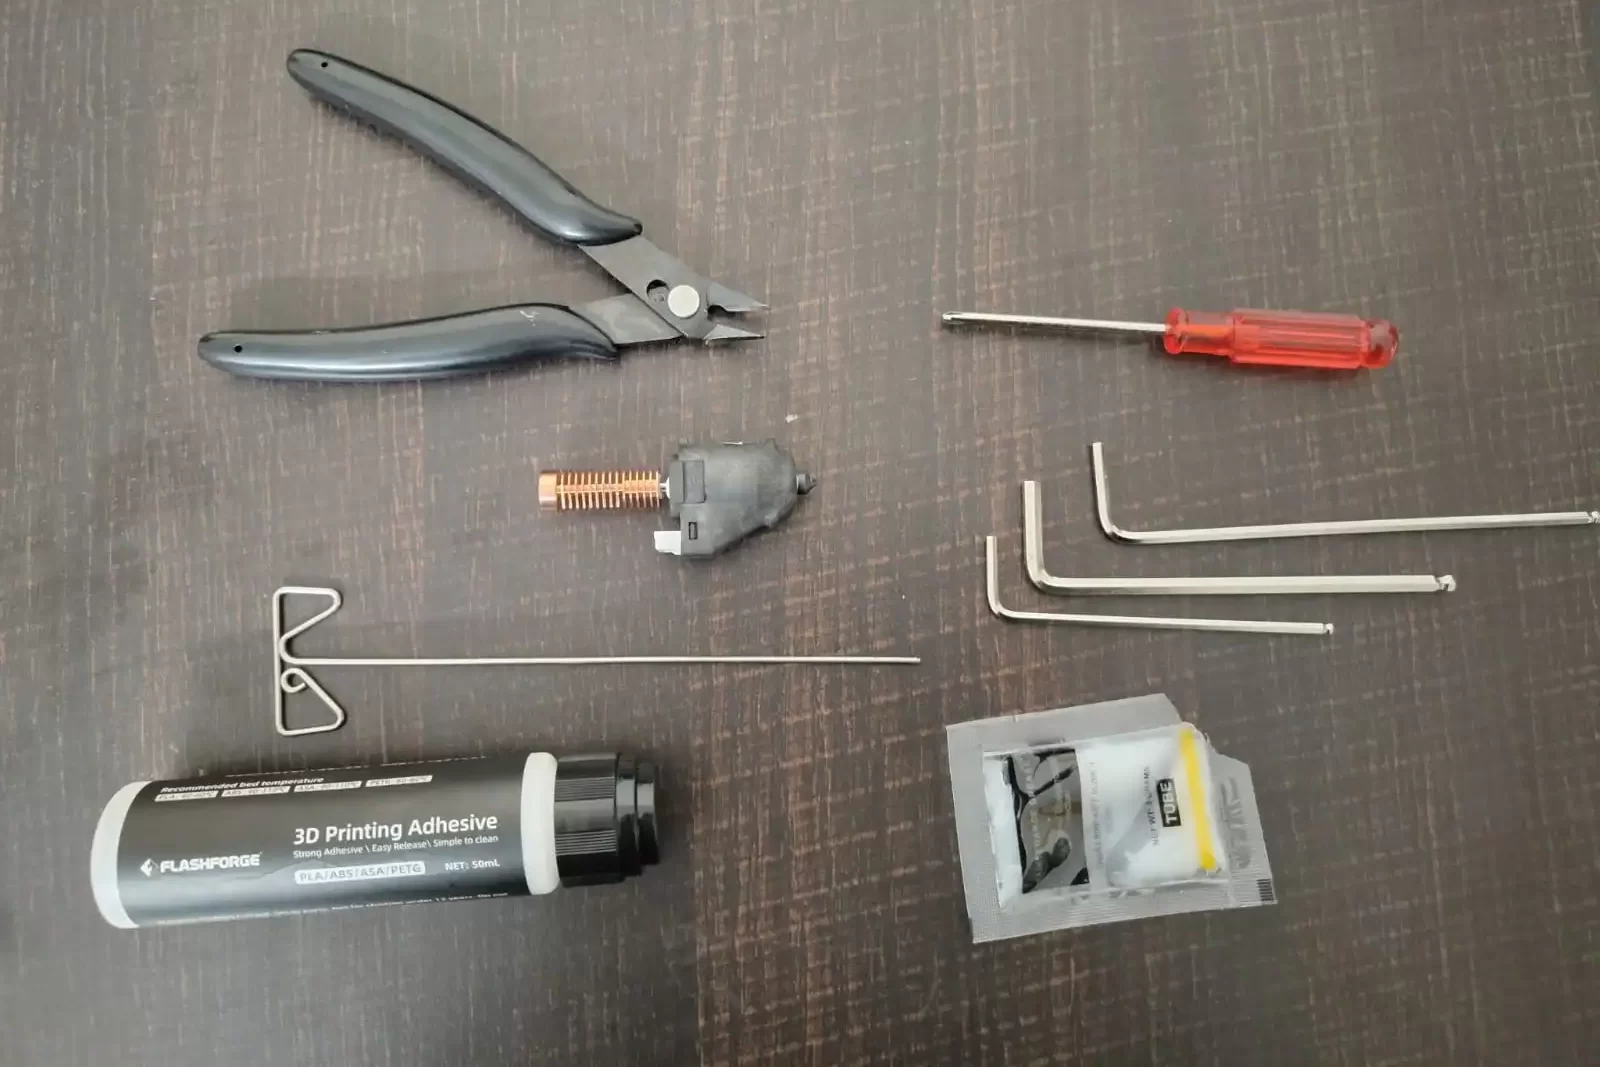
The printer comes with a toolbox. Inside the box, we got the spool holder, two screws, some grease, a gluestick for the hotplate, 3 Allen keys, a .6mm nozzle, a black colour wire cutter, a small screwdriver and a declogging tool.
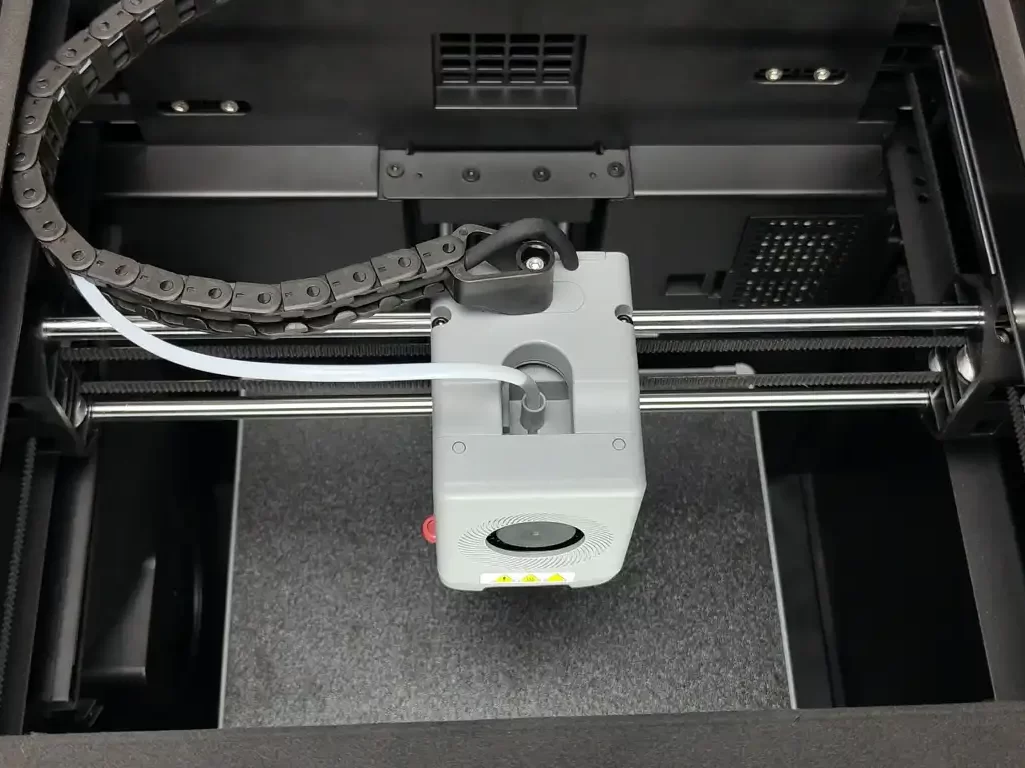
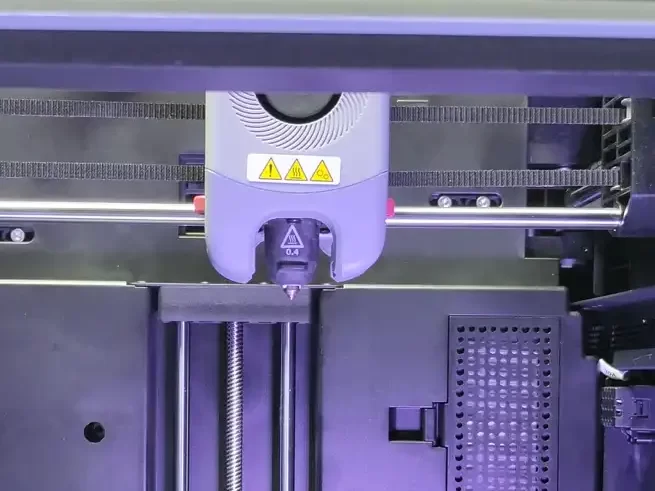
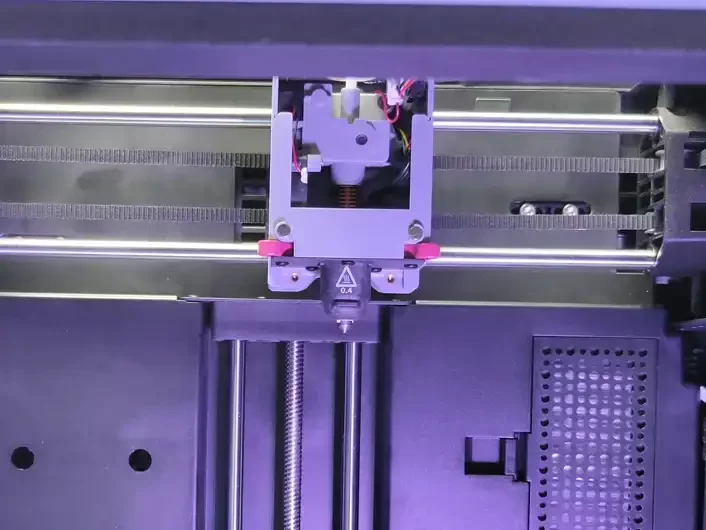
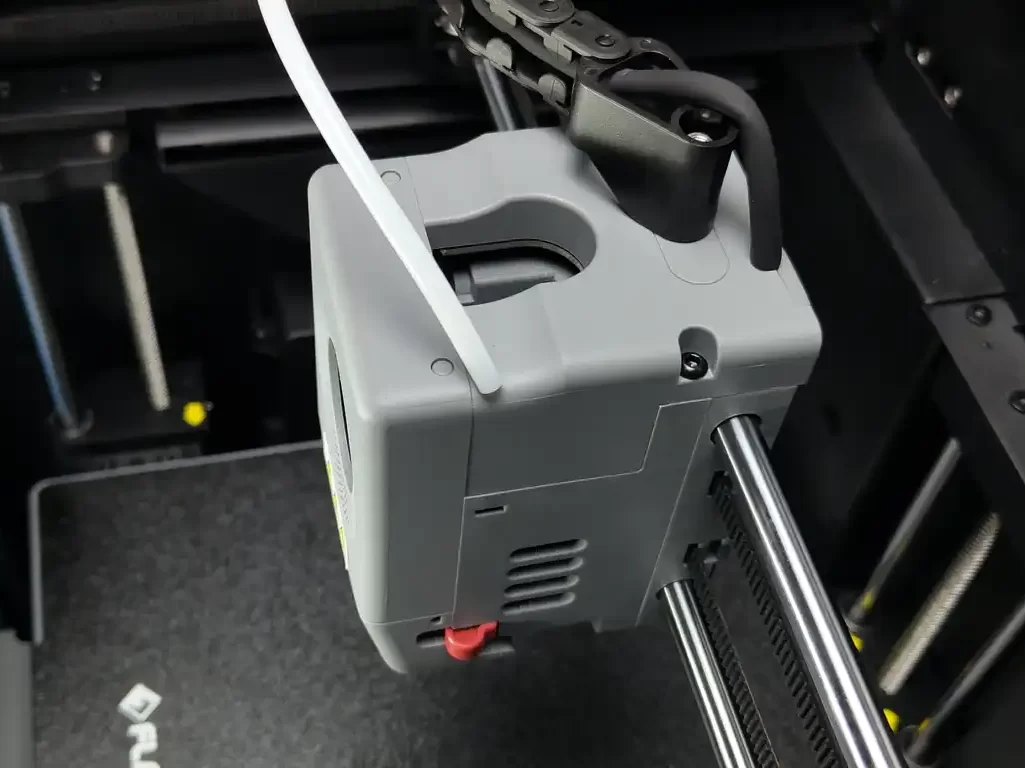
Here is the direct drive extruder we can simply open the extruder by pressing it. there is a cooling fan also here. To change the nozzle just press and hold on to this red trigger and we can simply remove the nozzle. This is a .4mm nozzle,(a .6mm nozzle comes as an extra). This nozzle can reach up to 280 degrees Celsius in 40 seconds. The heating element and thermistor are placed in the nozzle. the nozzle and thermister are connected using a JST connector. In the same way, we can replace the nozzle. this high-speed extruder supports 600mm/s speed and 20000 mm/s^2 acceleration.
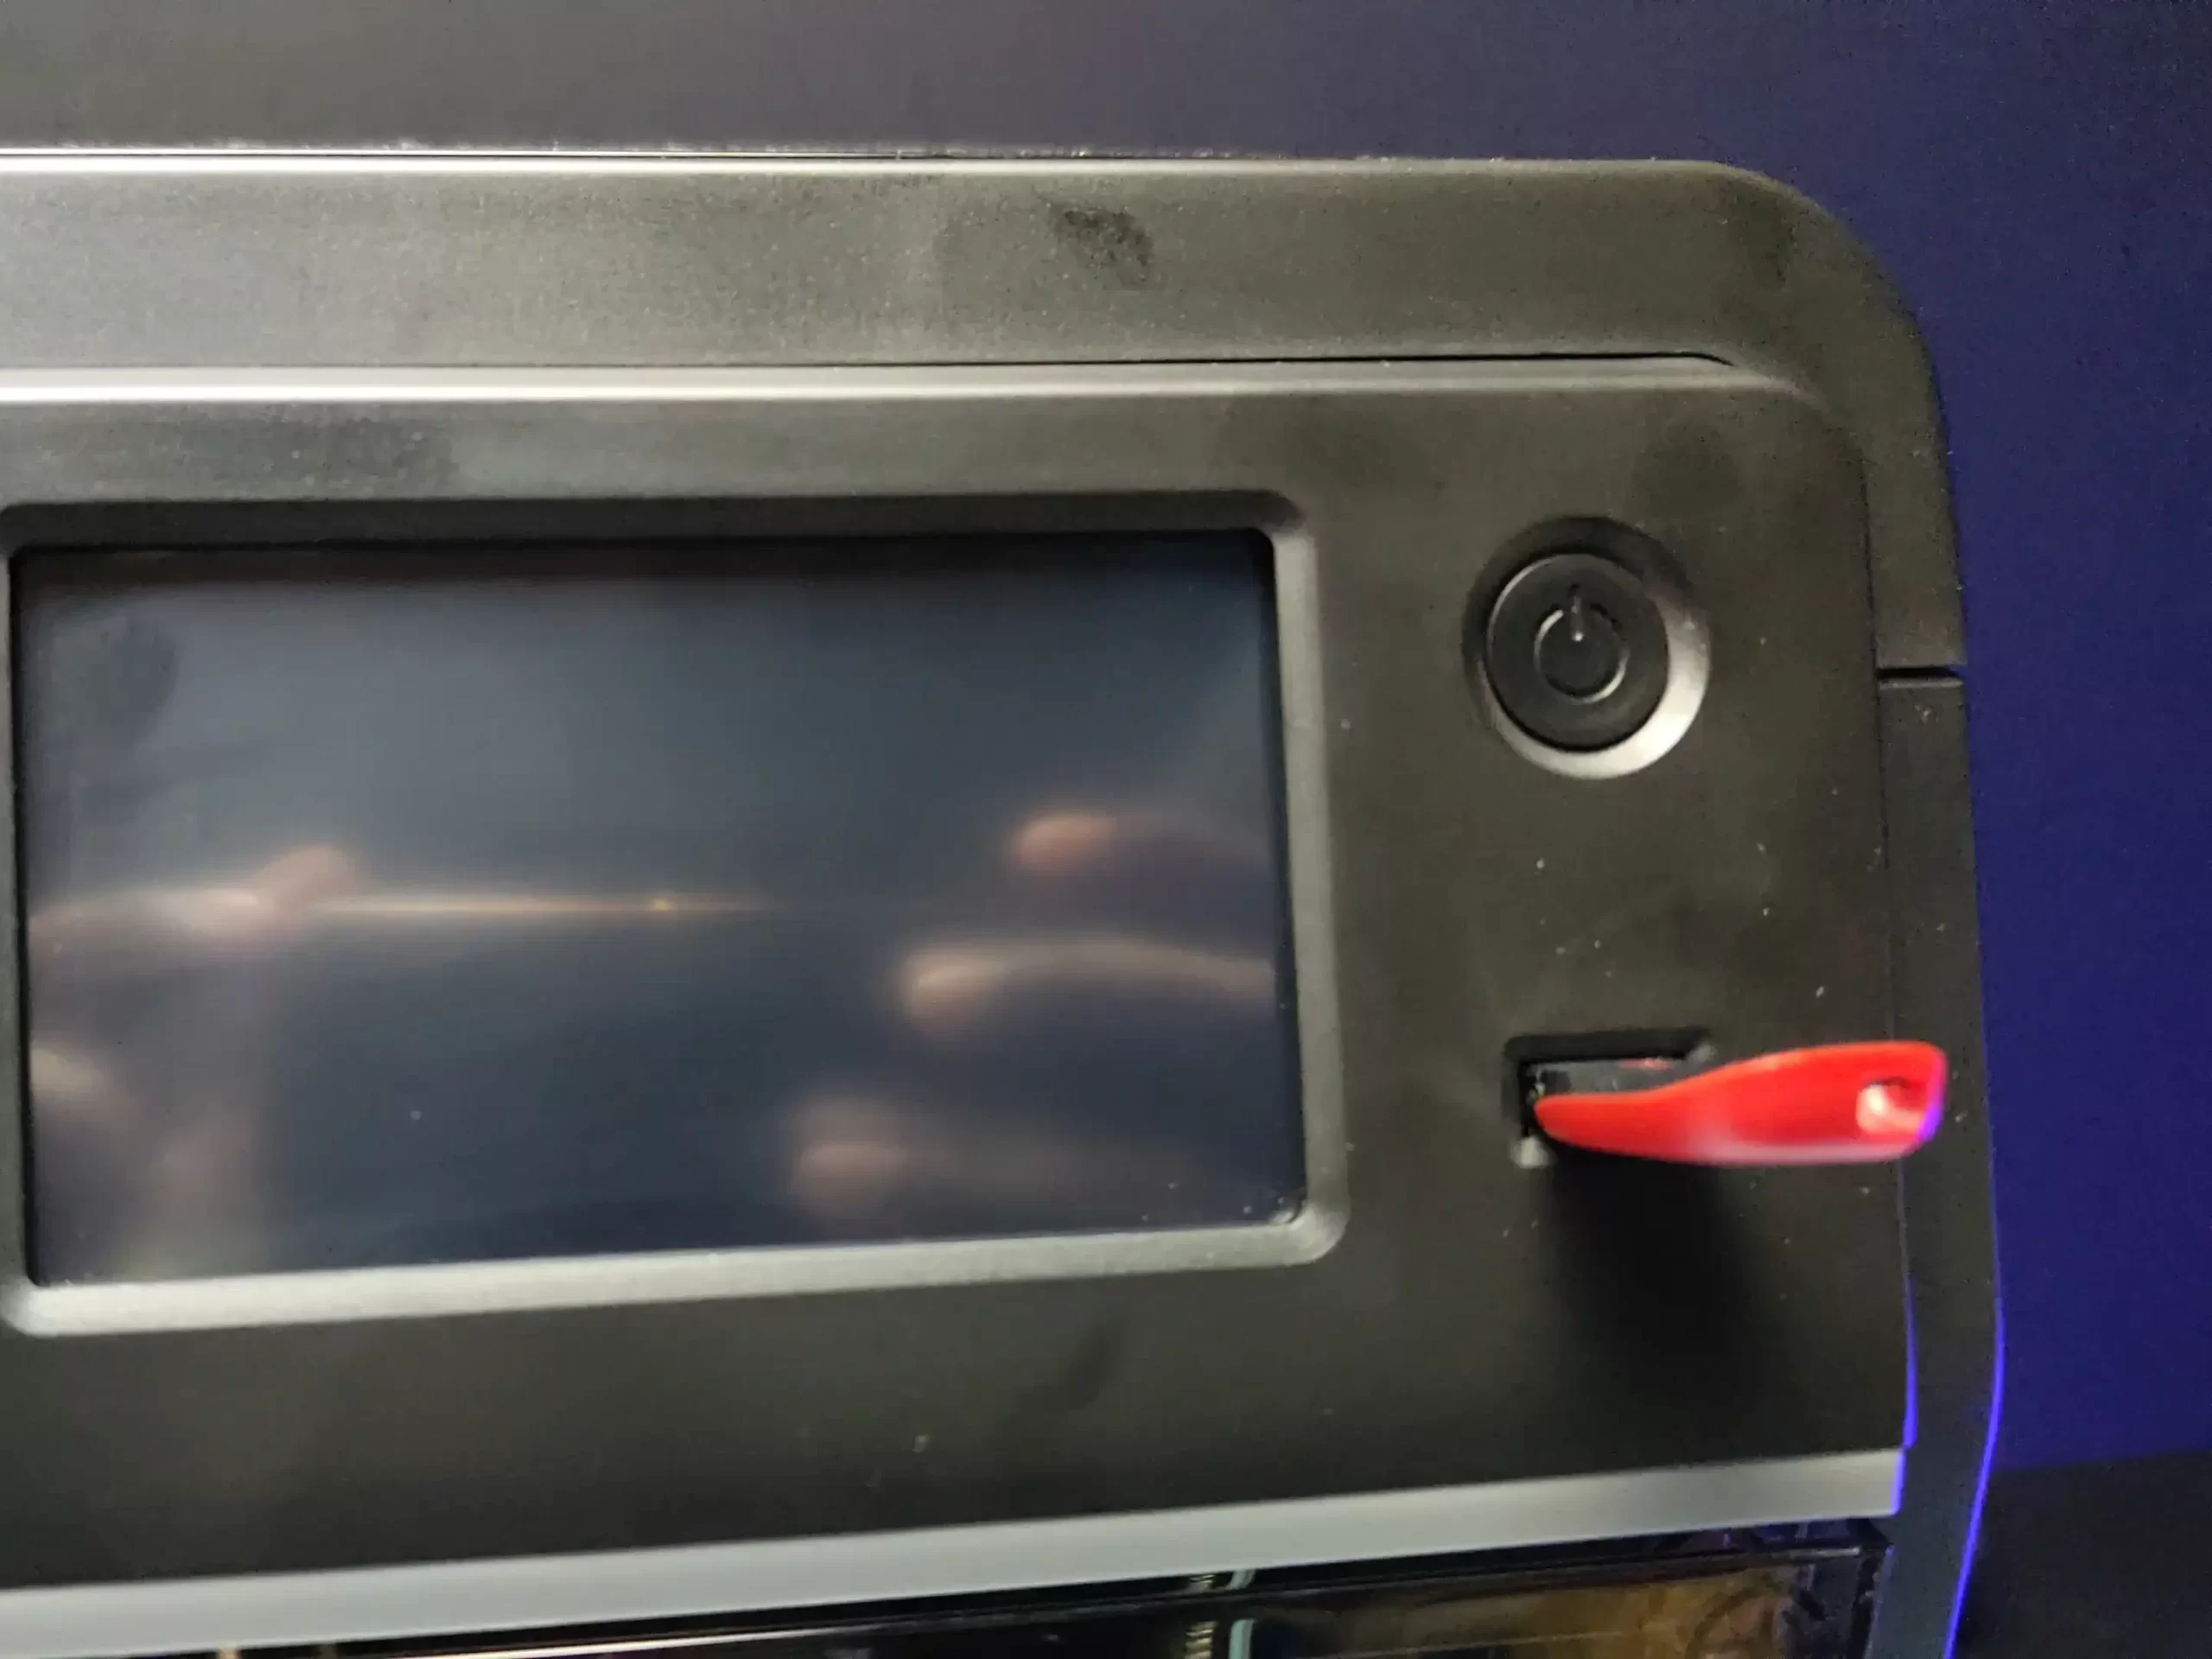
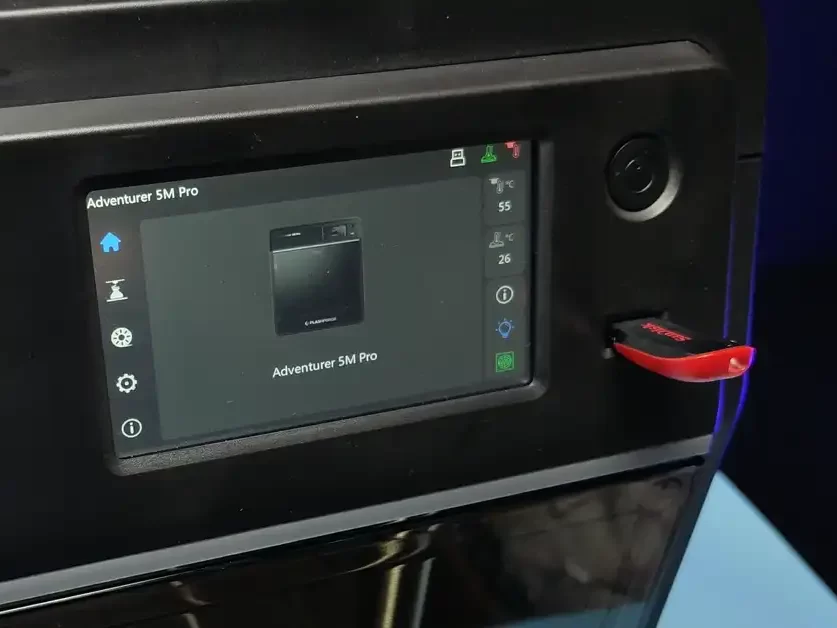
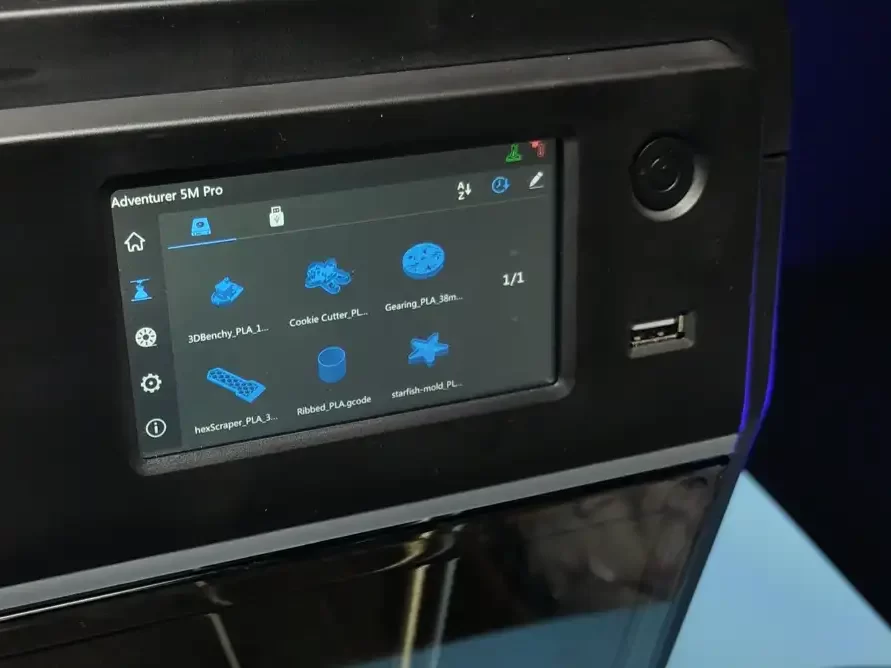
On the topside, there is the 4.3-inch colour touch display, then a female USB A-type socket for connecting pen drives. also, there is one more power button. The touch screen is pretty good and responsive. all the details of the printer we can set using the touch screen. we can see a thumbnail of each 3D model on display, that’s a great plus point. the display shows information such as print temperature and an estimated amount of time elapsed during the printing process.
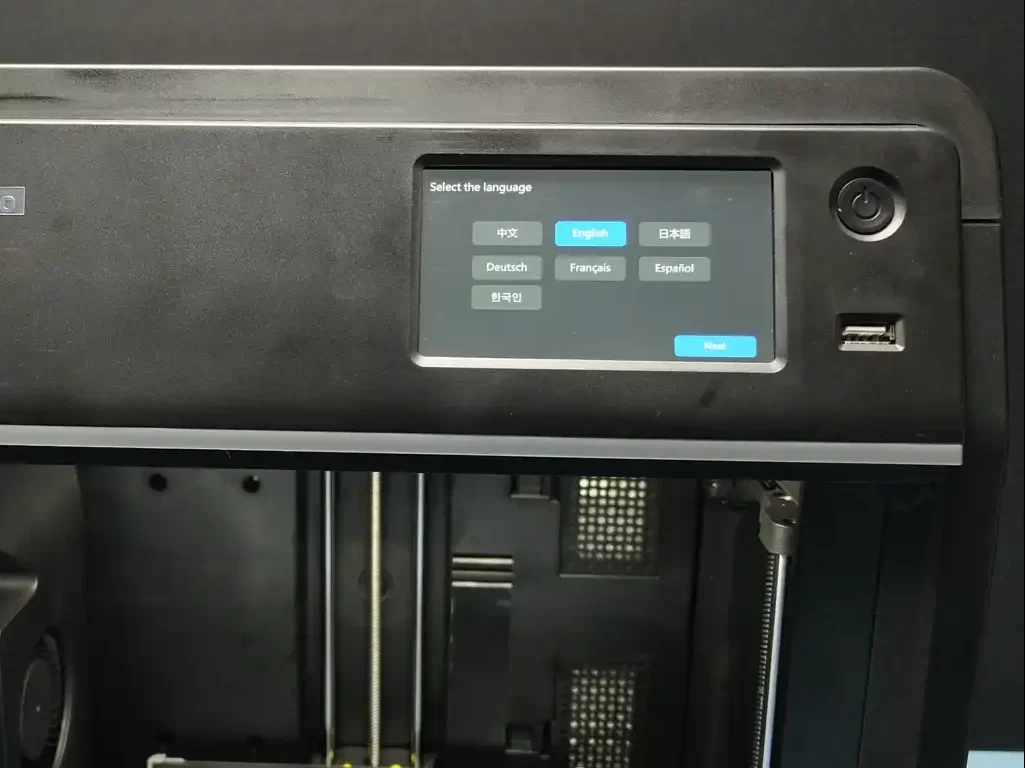
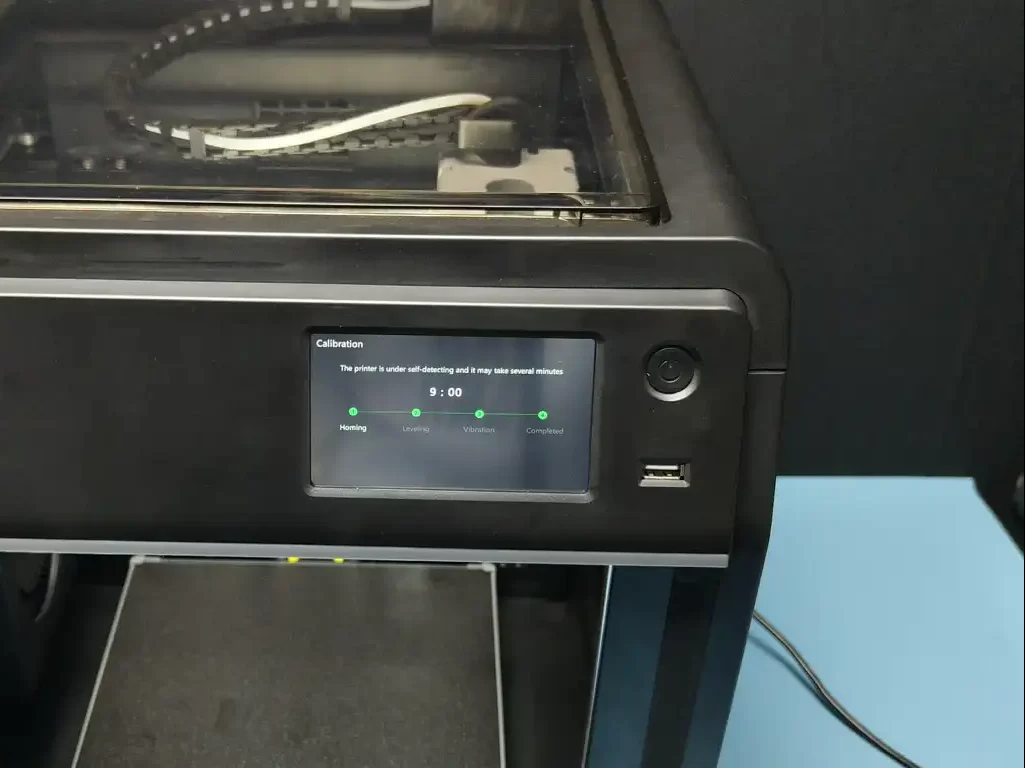
We can set up this printer in just 10 minutes First I fixed the spool holder on the backside of the printer. Then We have to remove the 6 screws that fixed the bed to the bottom. There are some yellow markings for that. After unscrewing them let’s turn on the printer. Now select the language and click next, now, the printer will do some calibration itself. that includes bed levelling, vibration calibration, noise calibration etc. During the vibration calibration, the printer will make weird noises and that’s usual, don’t worry about that. it took 9 minutes for that. After the calibration process, we can load the filament. In the settings tab, we can select the wifi and we can connect the printer to a network and access the printer via the internet. we can set internal/ external filtration and camera details in the settings tab.
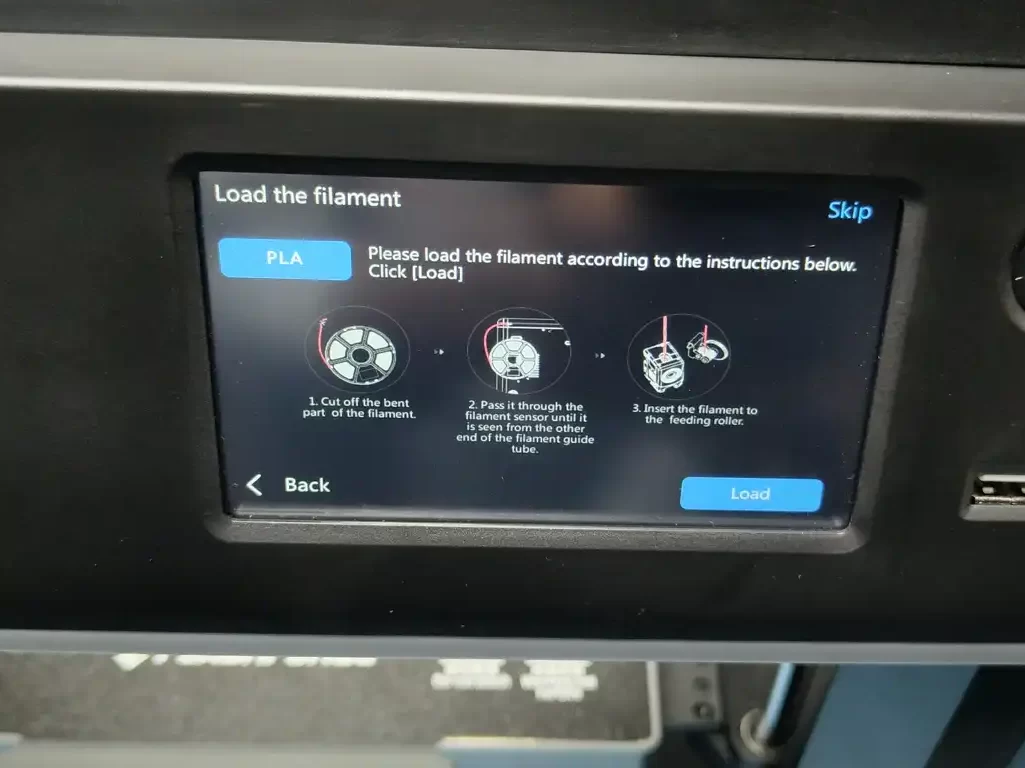
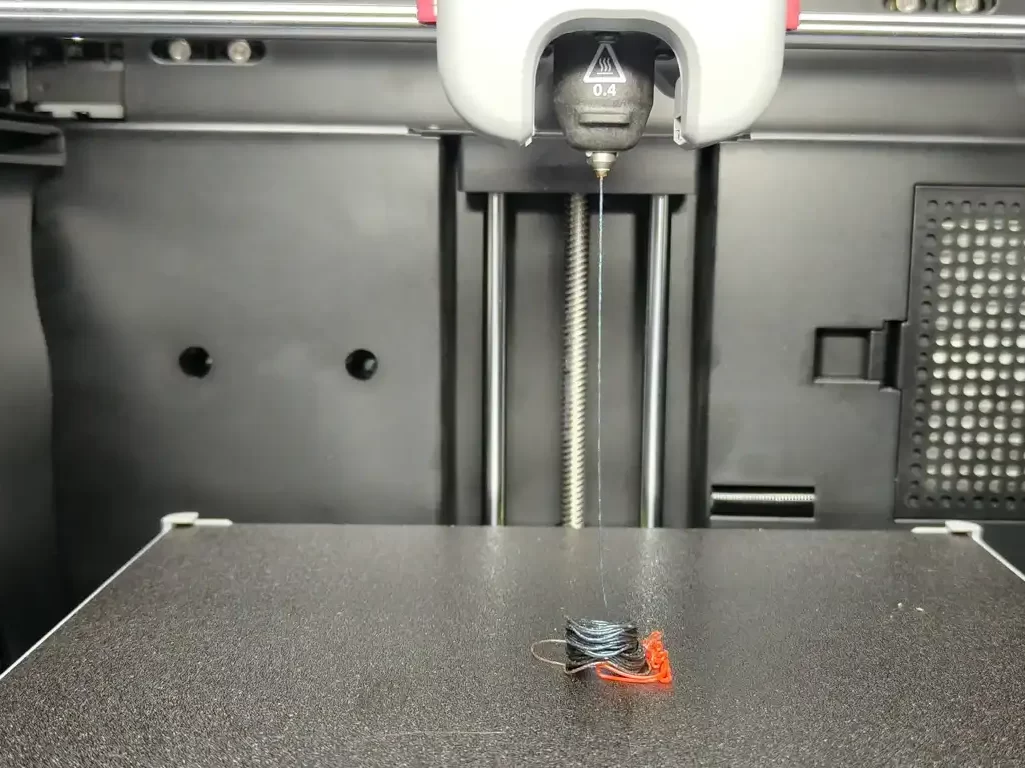
loading the filament is very easy. No hard work is needed everything is in the display, open the filament cut the end, insert it through the bowden tube, and insert the bowden tube into the extruder. That’s it. Now click on load filament, Now the nozzle will heat up and extrude the filament. After that, we can print our first model.
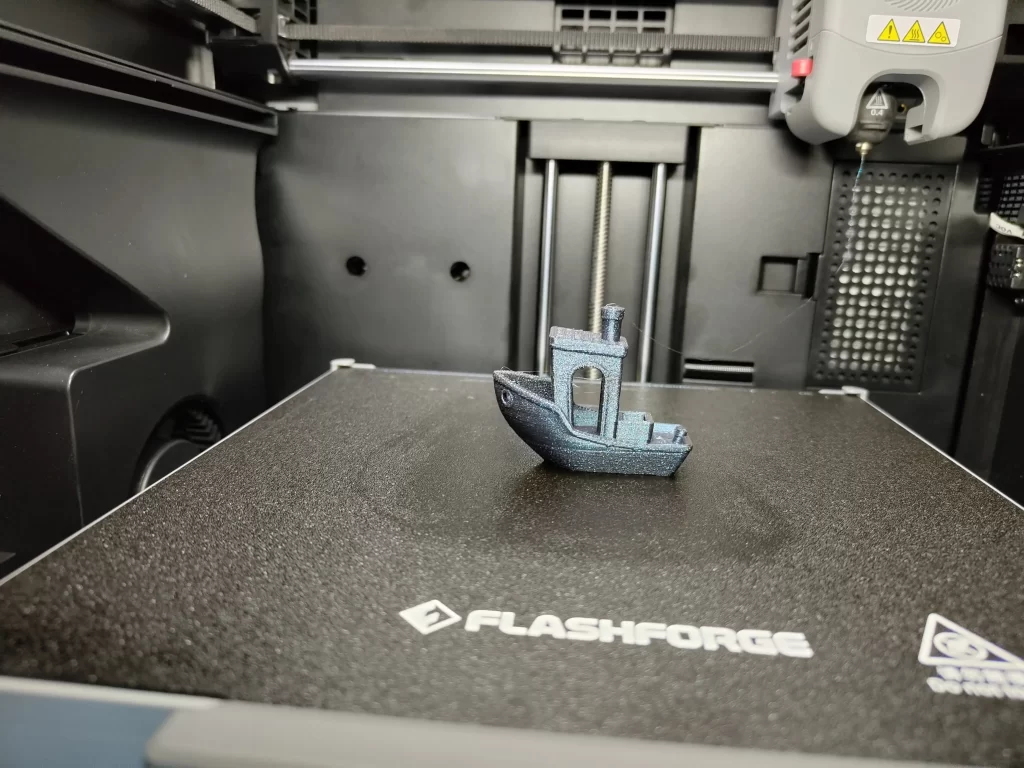
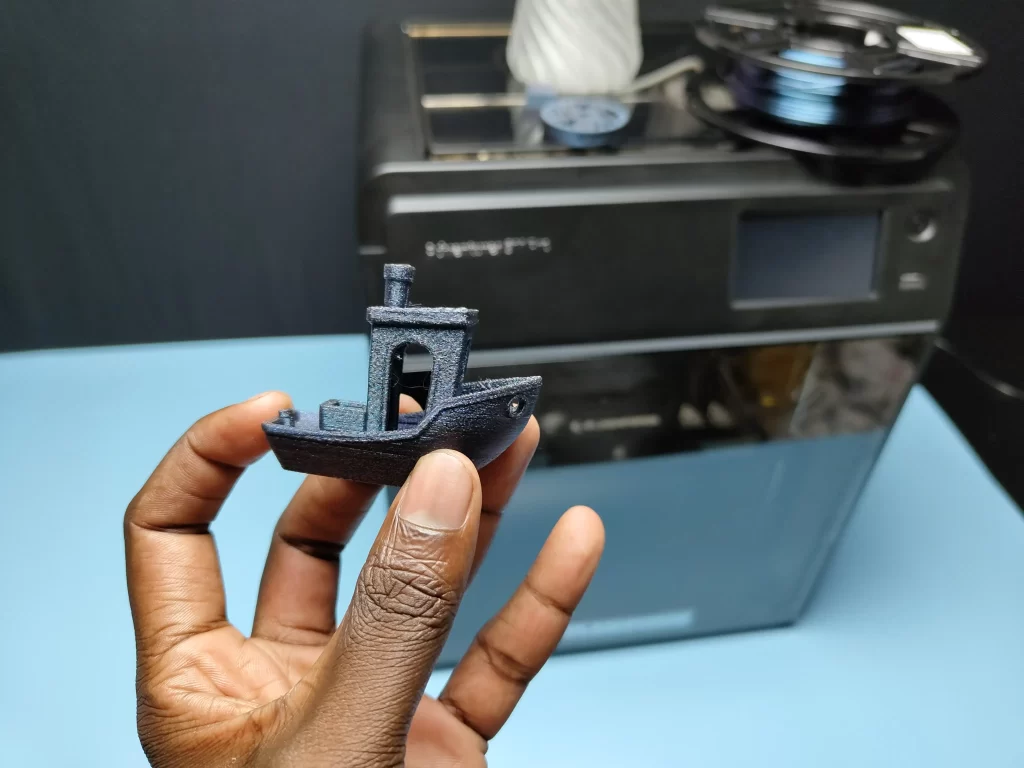
honestly, It’s a beast. It printed the bench in just 14 minutes. That’s 5 times faster when compared to other normal printers. After a print is finished, the Adventurer 5M Pro’s flexible PEI build plate can be taken out of the printer. The thin PEI plate can be easily bent, and when it is bent, printed parts will easily removed. we can remove the platform using the inbuilt handle, which decreases the need to touch the platform’s surface. The PEI sheet can be easily placed on the bed thanks to the brackets on the back. We can hear high noise when the printer is open and it decreases when the door is closed. Great
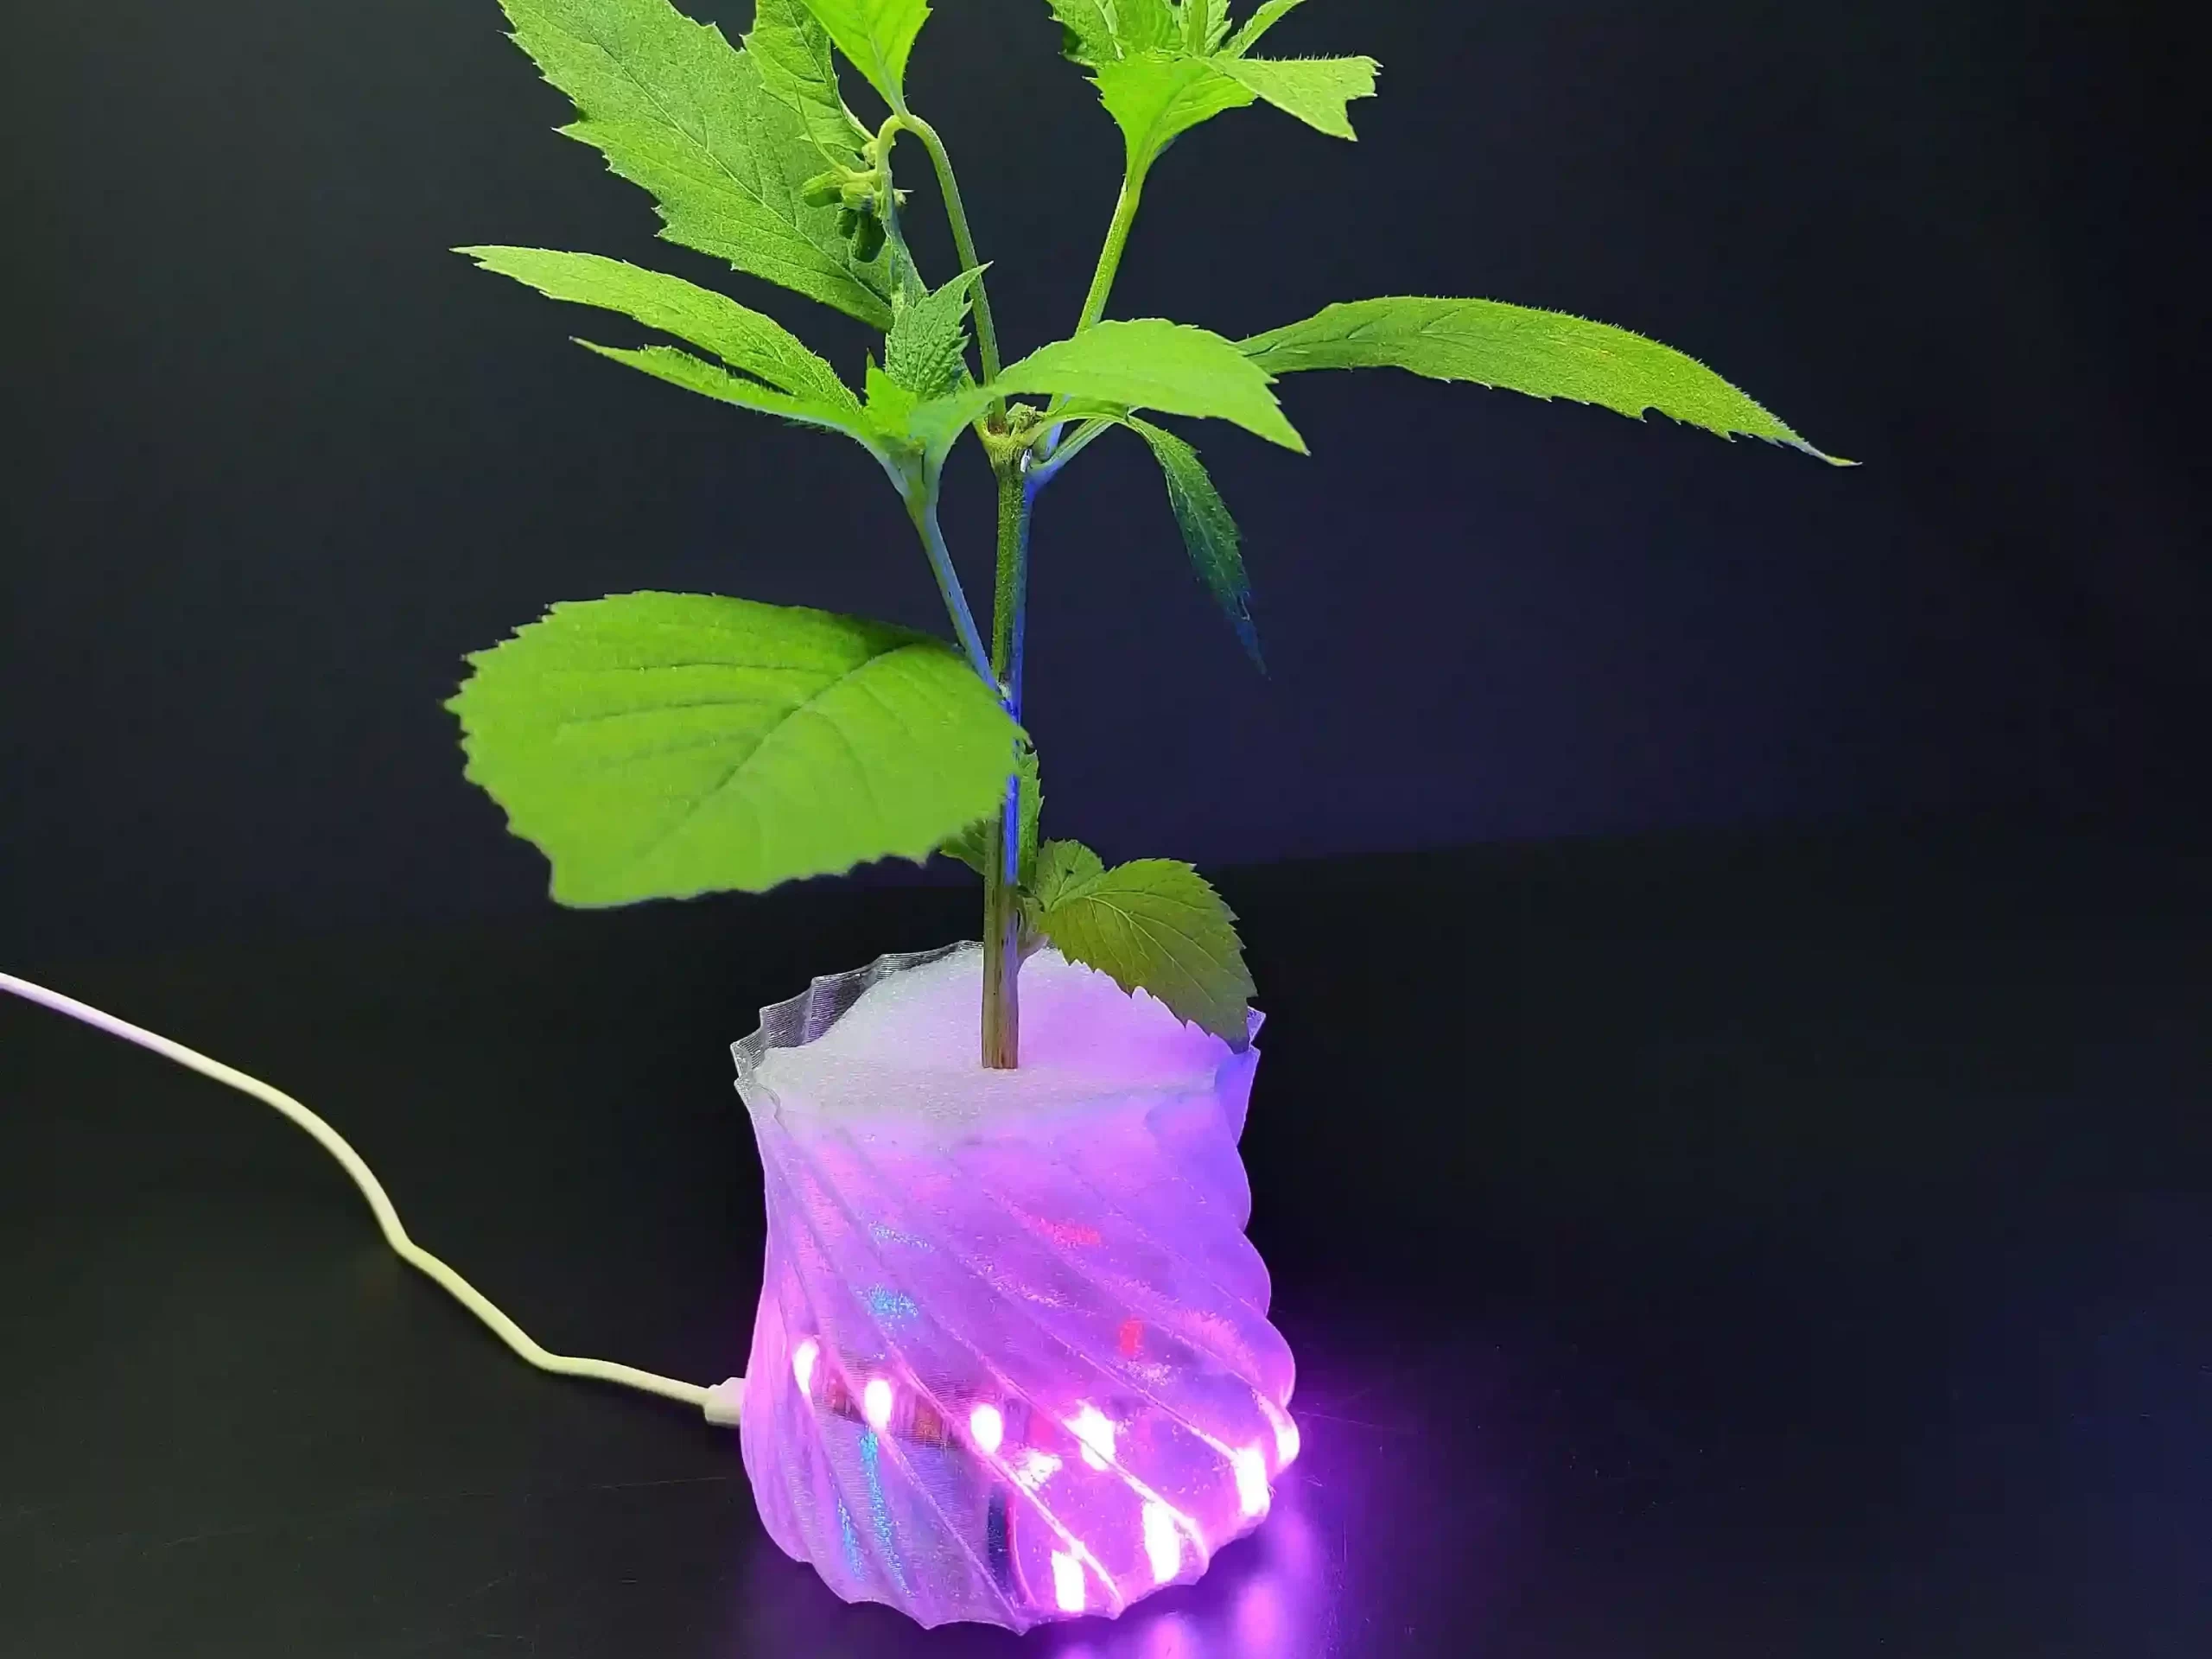
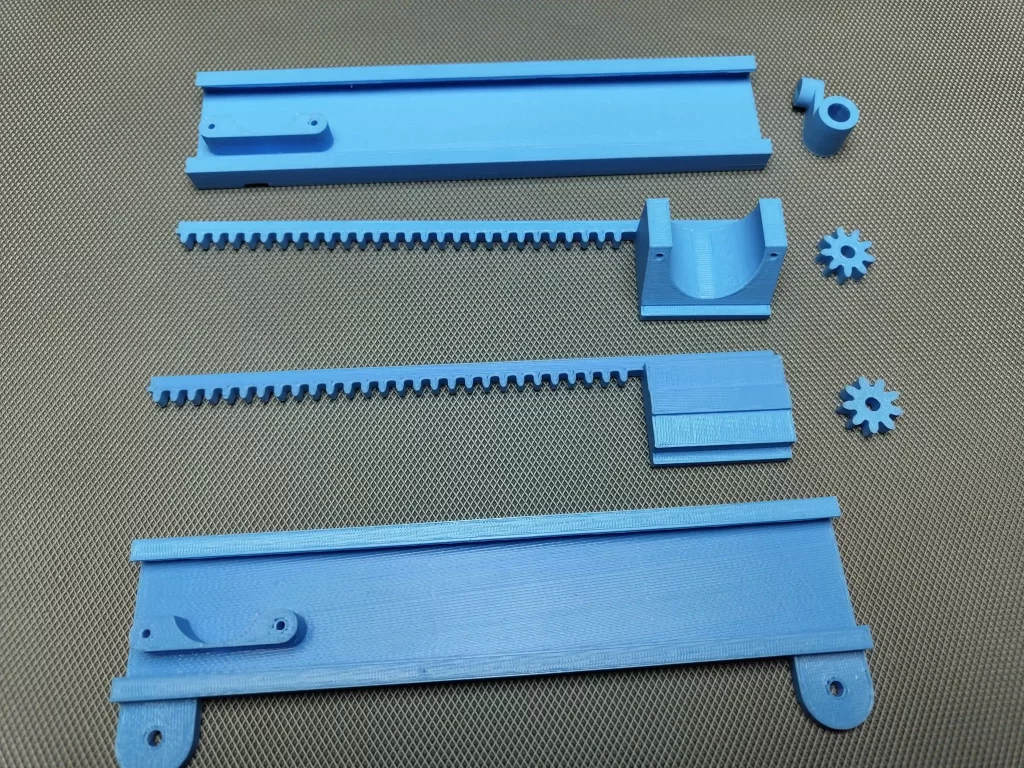
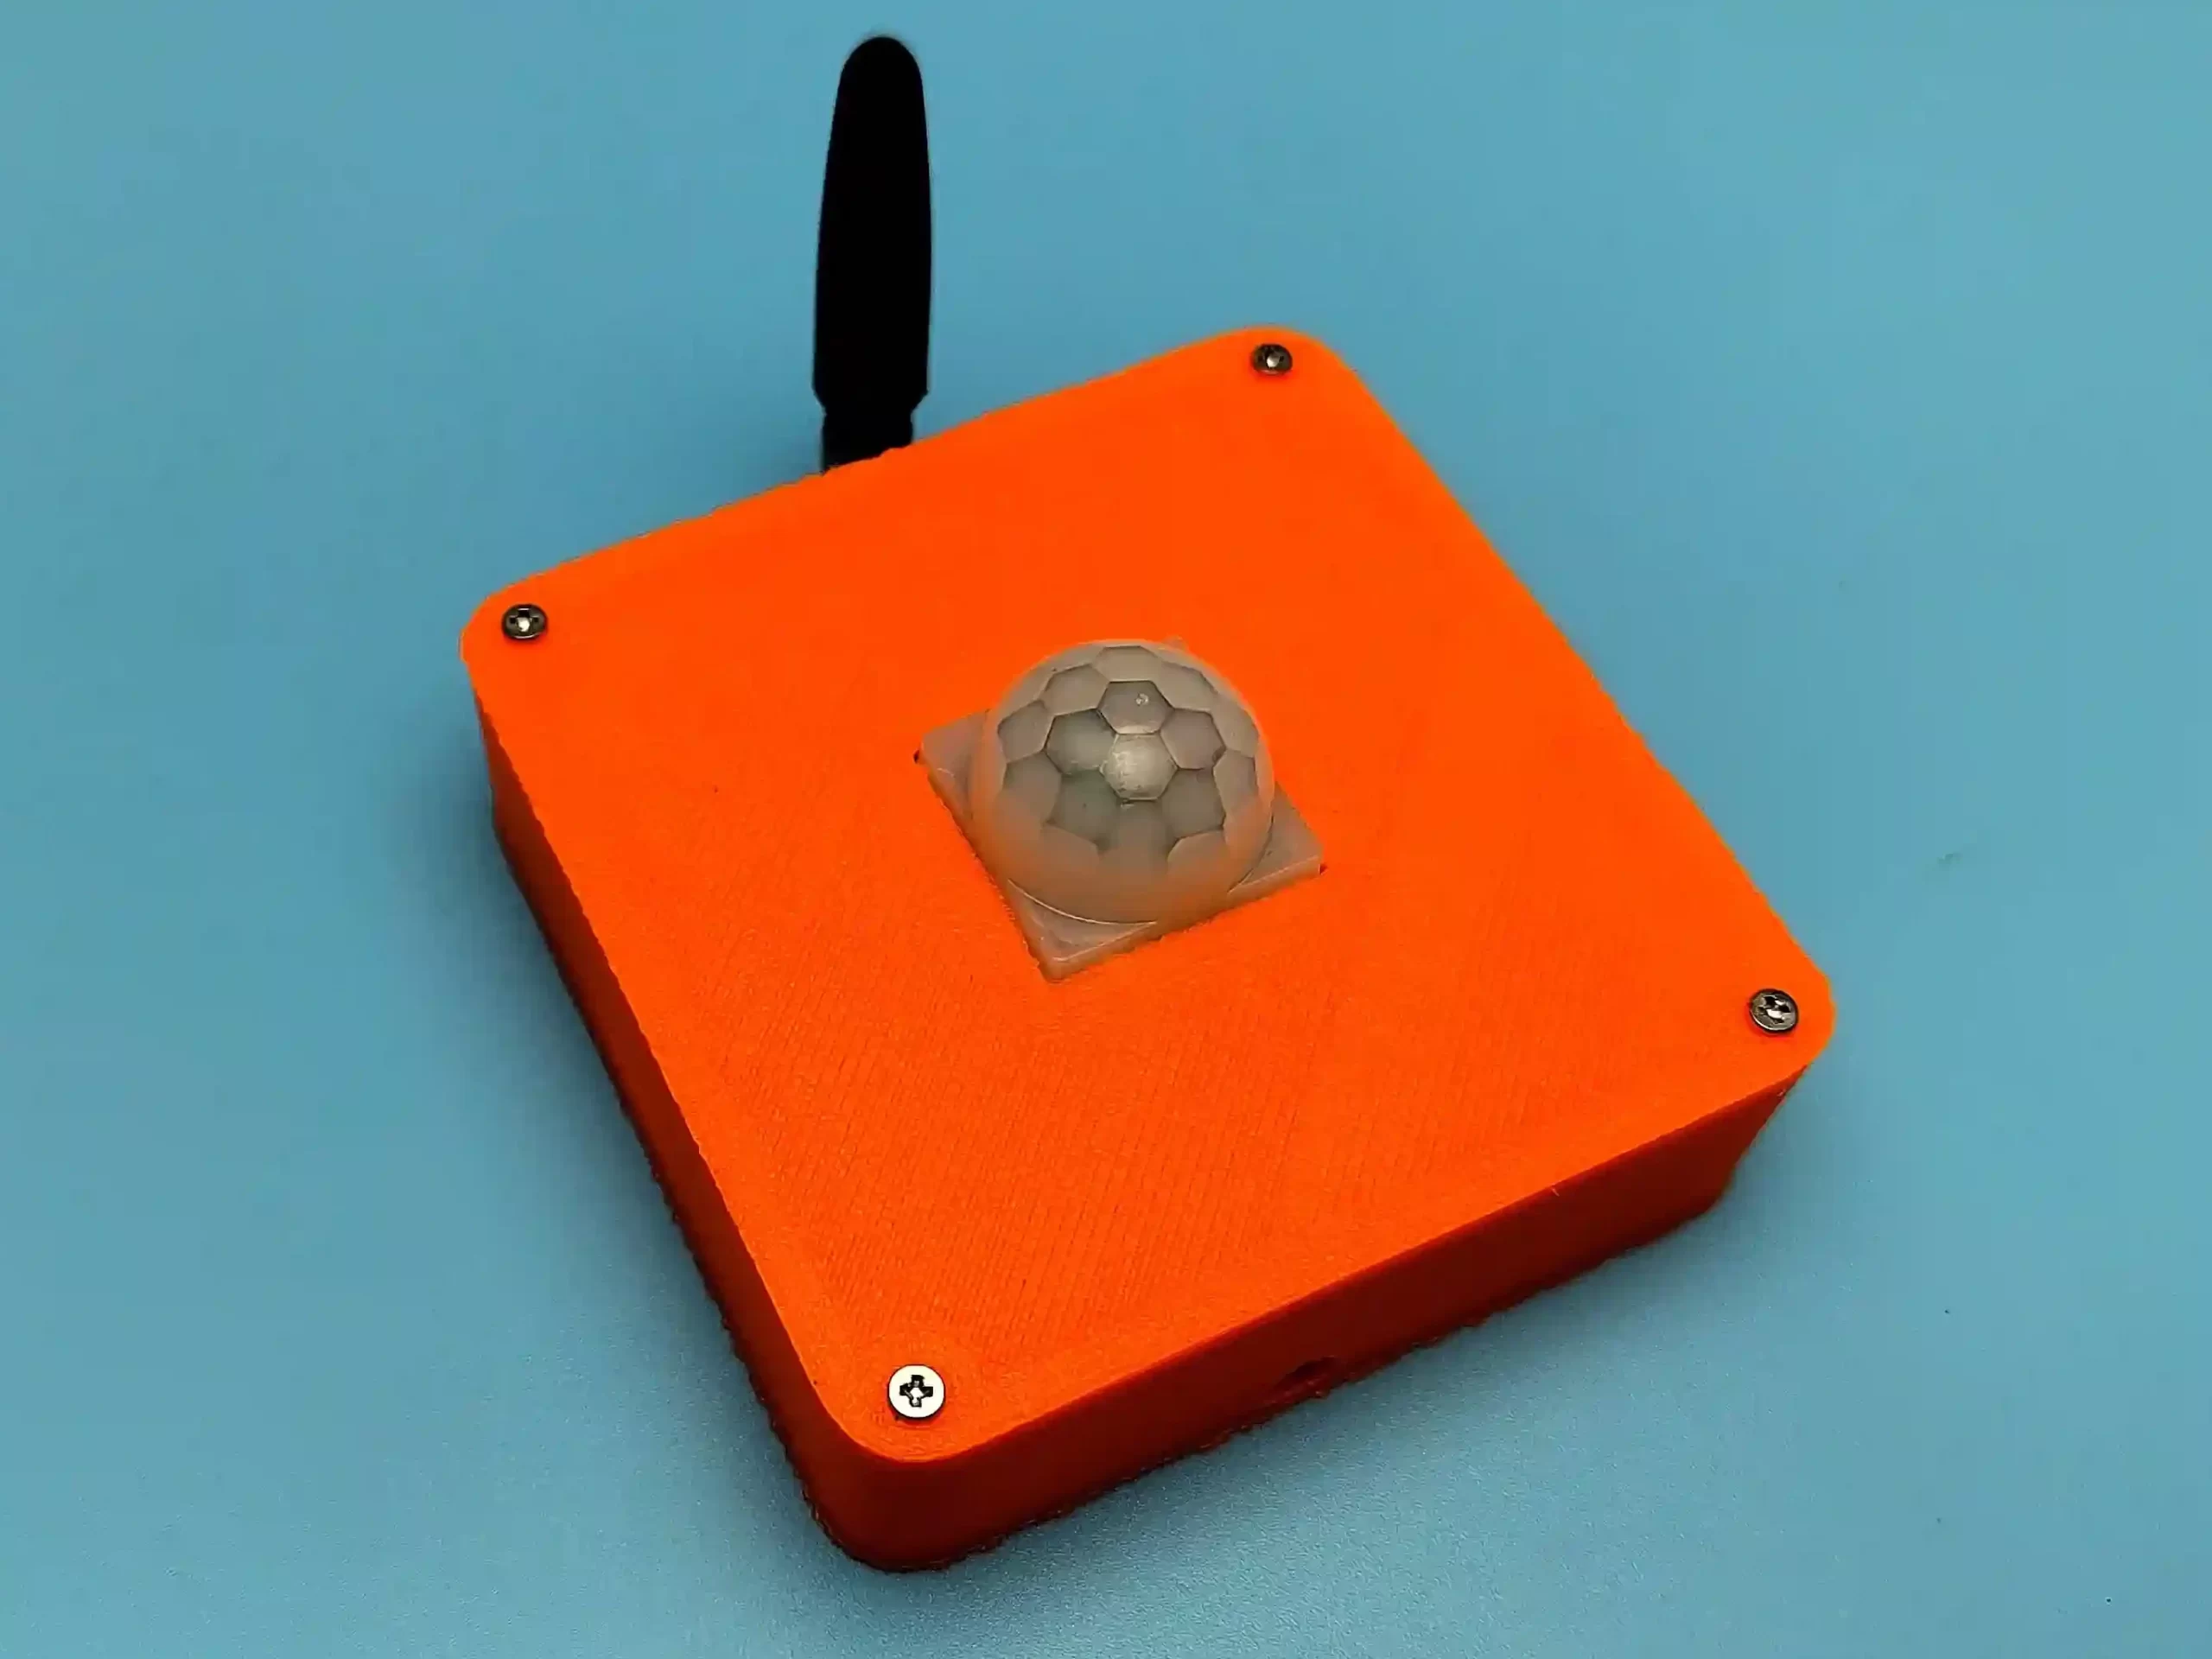
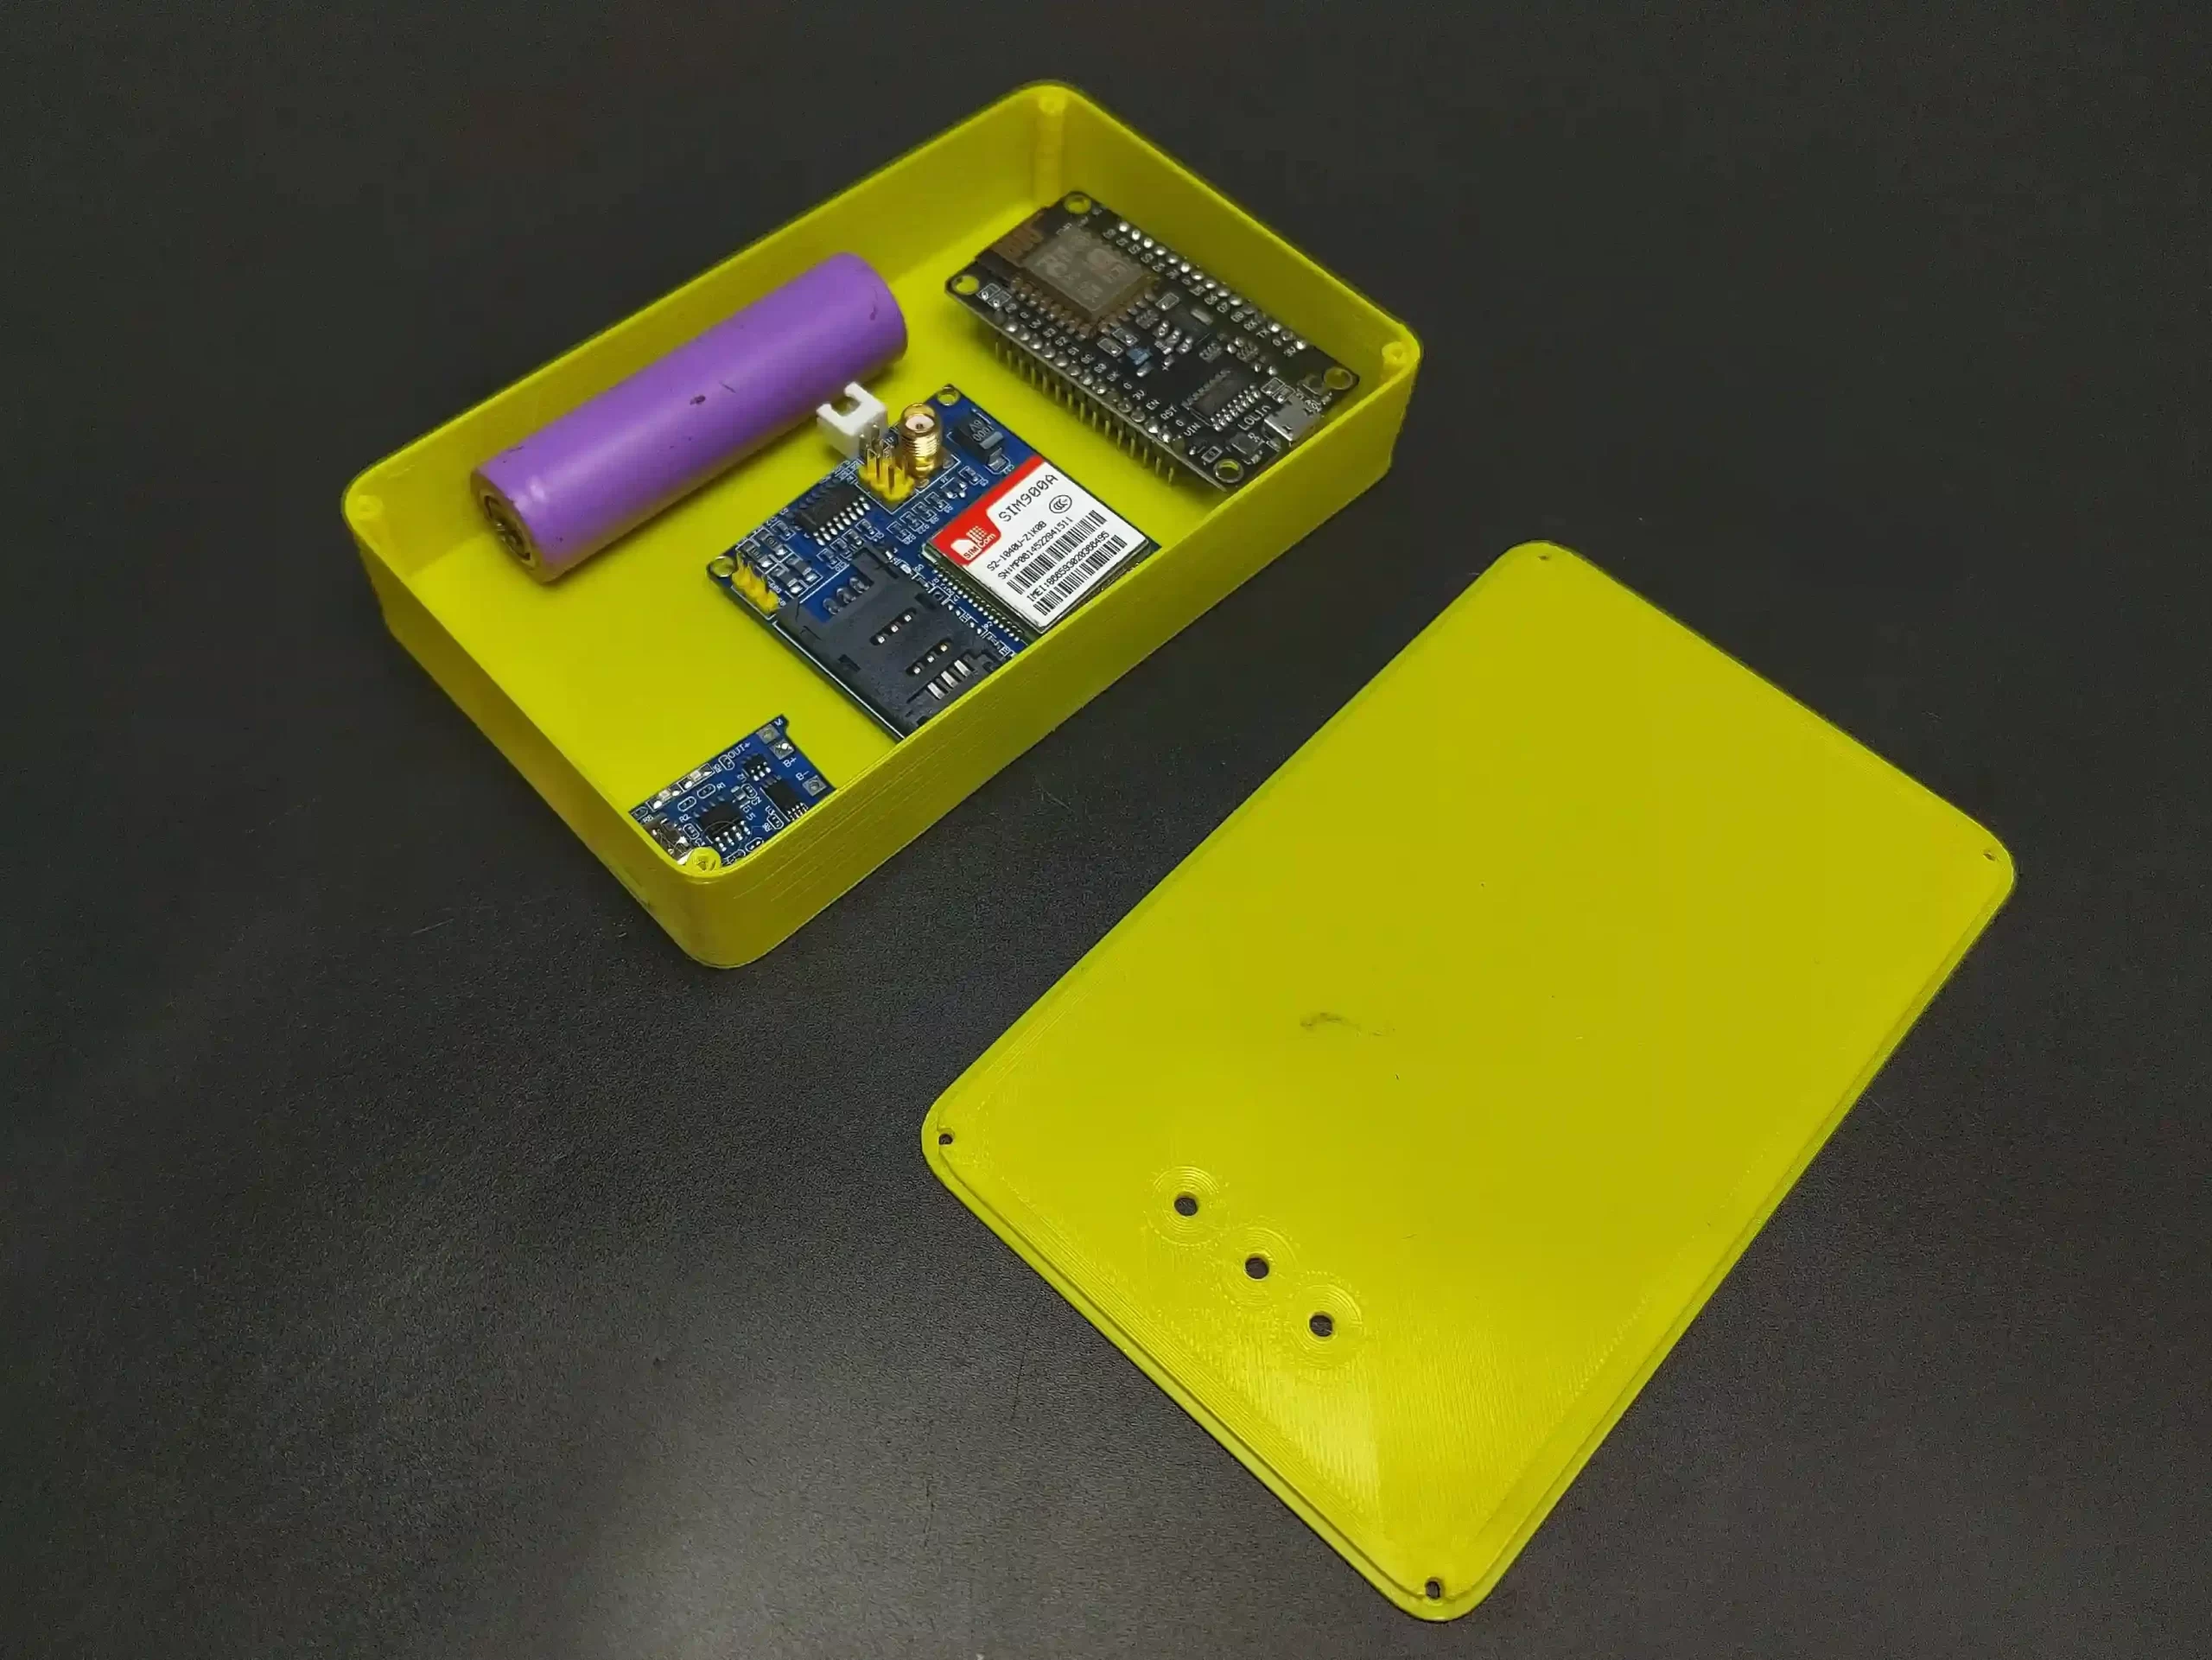
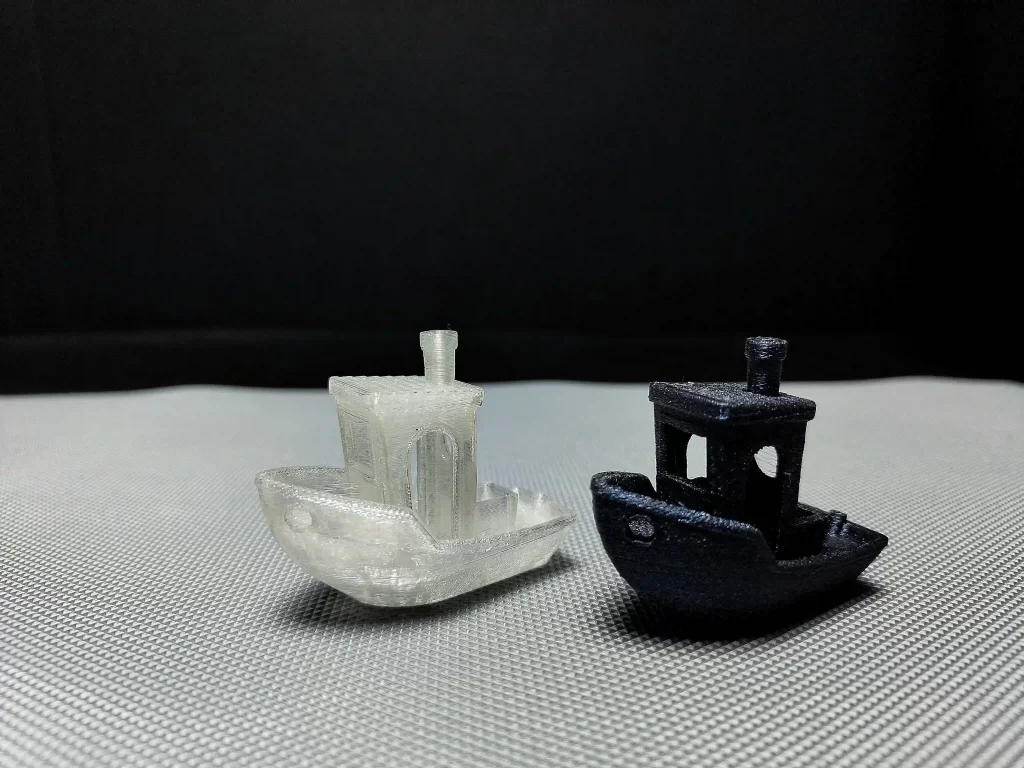
These are the prints that I made with the printer and the quality is amazing. I used normal PLA for most of the models. I tried .2 mm, .3mm and .4mm layer height with .4mm nozzle. the printer worked fine with PLA. The printer worked well with ABS also, the enclosed cabin traps the heat and makes the print easy. For ABS printing, the printer automatically enabled the internal filtration method.
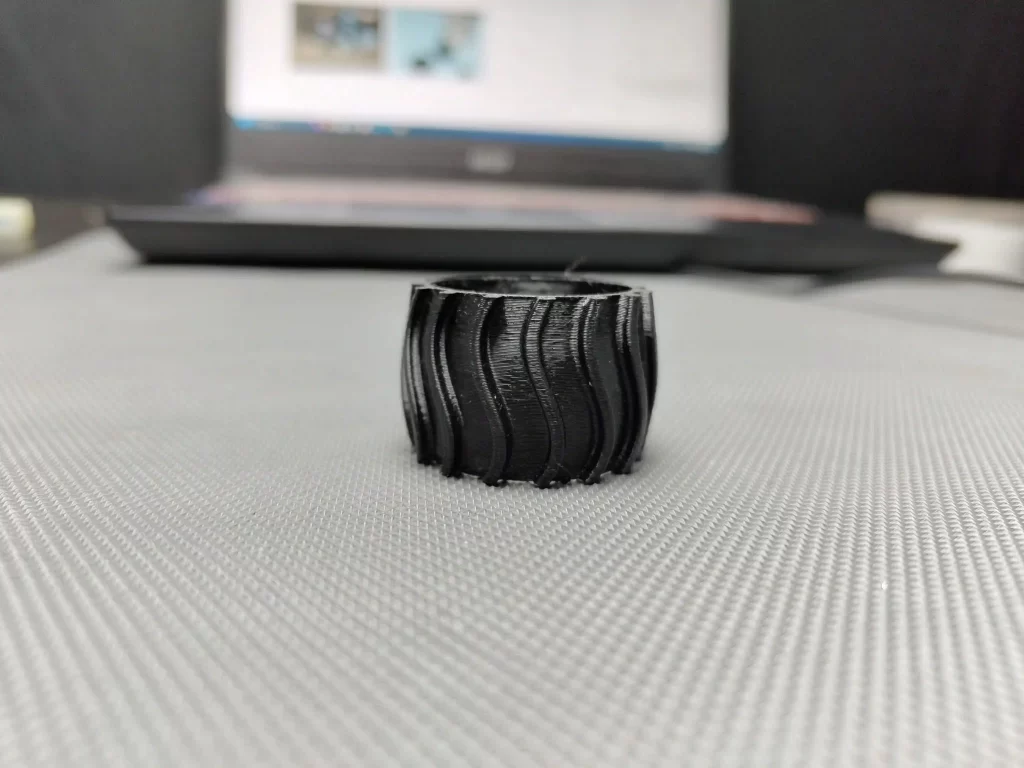
I tested the PETG filament and the result is awesome, The 5m pros profile for PETG worked brilliantly, resulting in a nice smooth print without any strings. Finally, I tried the most irritating filament(TPU) but amazingly I got great results. I printed a tyre with a .3mm layer height on a .4mm nozzle. The result print got a little stringing but the quality was perfectly okay.
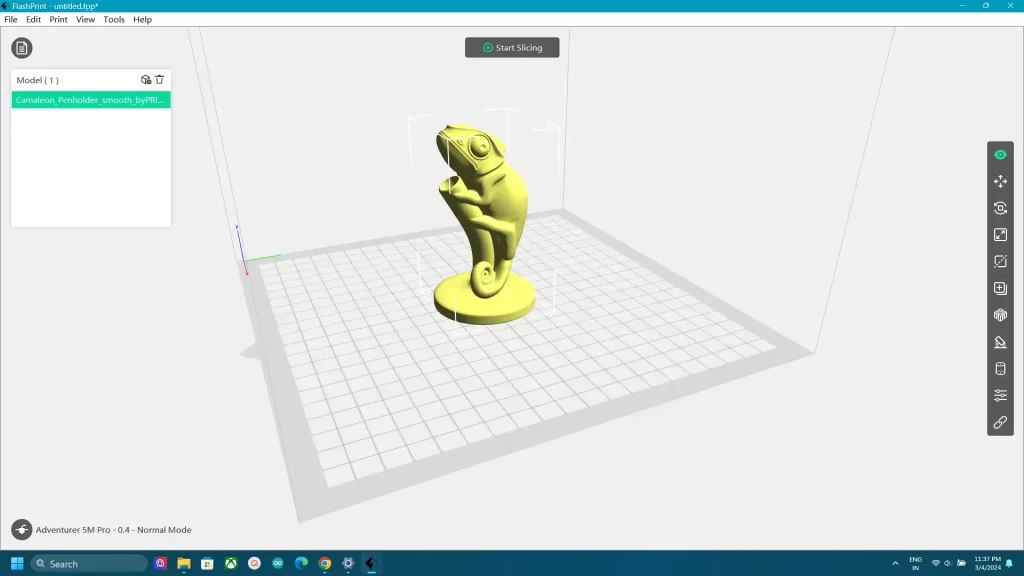
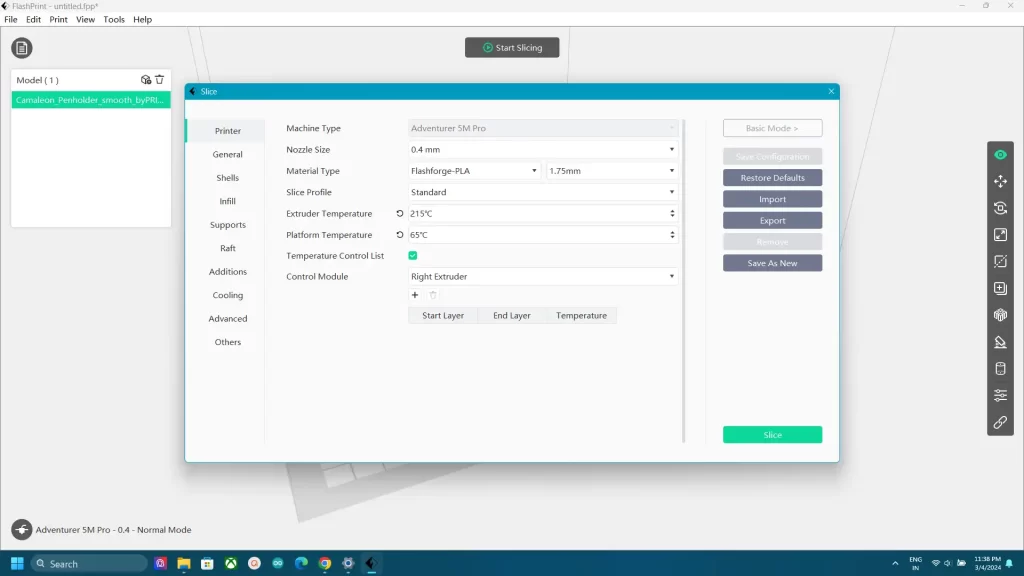
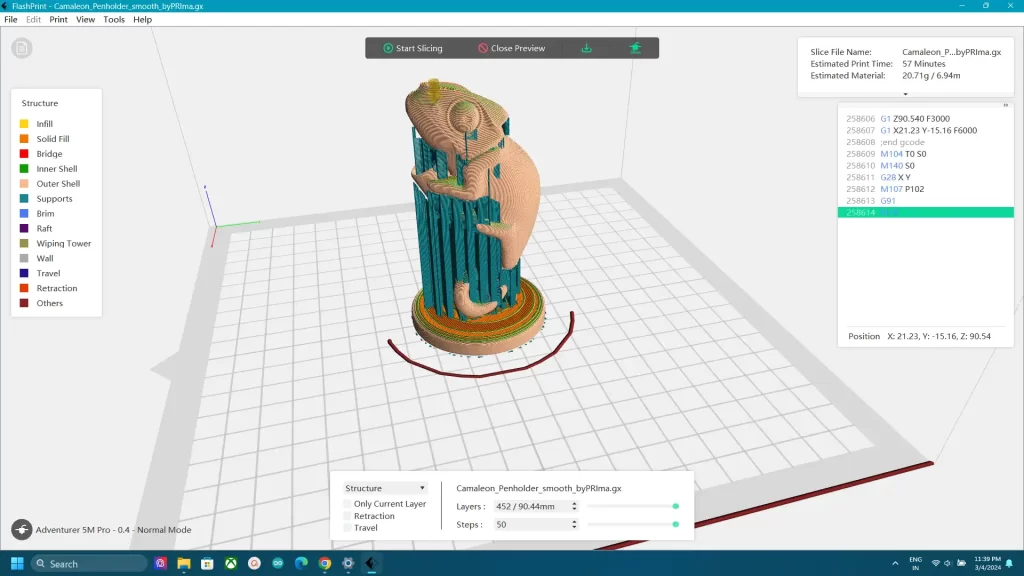
We can use FlashPrint 5 slicer software for Adventurer 5M PRO. FlashPrint 5 comes with lots of features just like other slicer software. We can select .stl, .obj, .3mf, and other files directly to software also we can rotate, scale, generate supports, and even split a model into pieces. But in the slicing menu, we can select only up to 300mm/s printing speed.
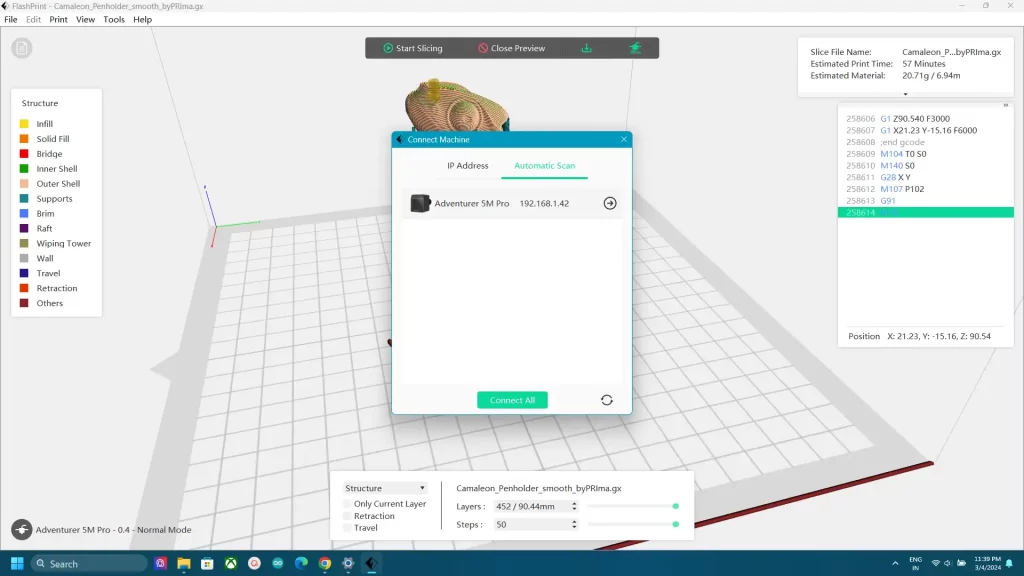

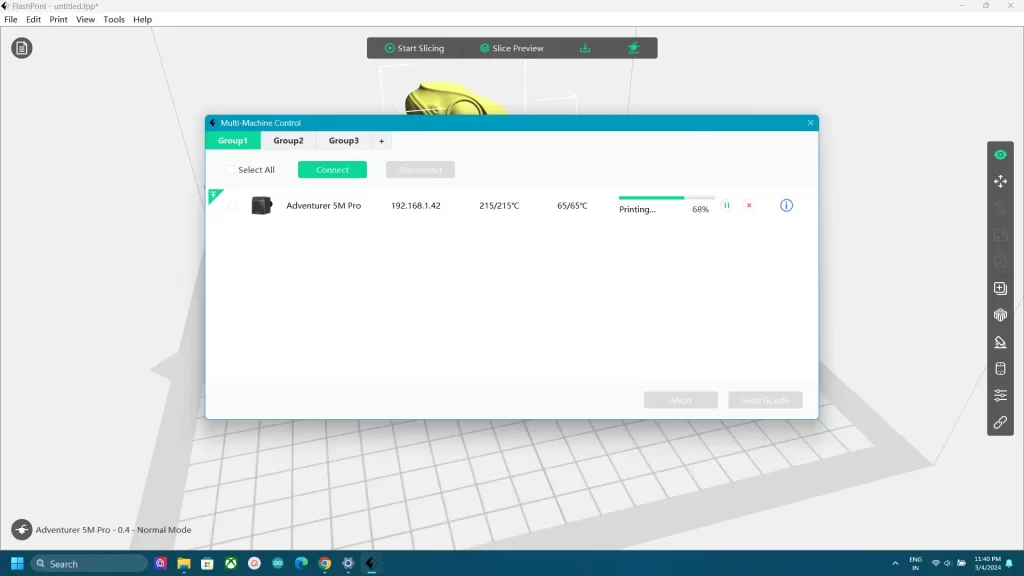
We can directly print sliced models through wifi using FlashPrint 5, and we can monitor the progress of printing using the in-built webcam also we can control the parameters of the printer using the software. The webcam can also be used to take photos and timelapse, but the resolution is very poor. So we can use that cam only for monitoring the print.
| PROS | CONS |
| High speed | Poor bed adhesion |
| Multi-Material support | Poor camera Quality |
| Quik changeable nozzle | |
| High-quality Output |
So In a nutshell the FlashForge Adventure 5M Pro is a solid choice for anyone looking for fast 3D printing. Its user-friendly design, reliable performance, remote(wifi) printing and high-temperature filament compatibility make it a strong contender in its category. Whether you’re a beginner or an experienced enthusiast, the Adventurer 5M Pro offers a satisfying 3D printing experience. If you’re interested please check it out. So that’s all about the Adventurer 5M Pro. you can watch the complete unboxing and review video from below, THANK YOU.
Leave a comment