


Creating a remote controller using a ESP8266 microcontroller, allows you to build a versatile and IoT-enabled device that can control various appliances or systems remotely. Such a project is particularly useful for home automation, entertainment systems, or any application where you want to control devices or systems.
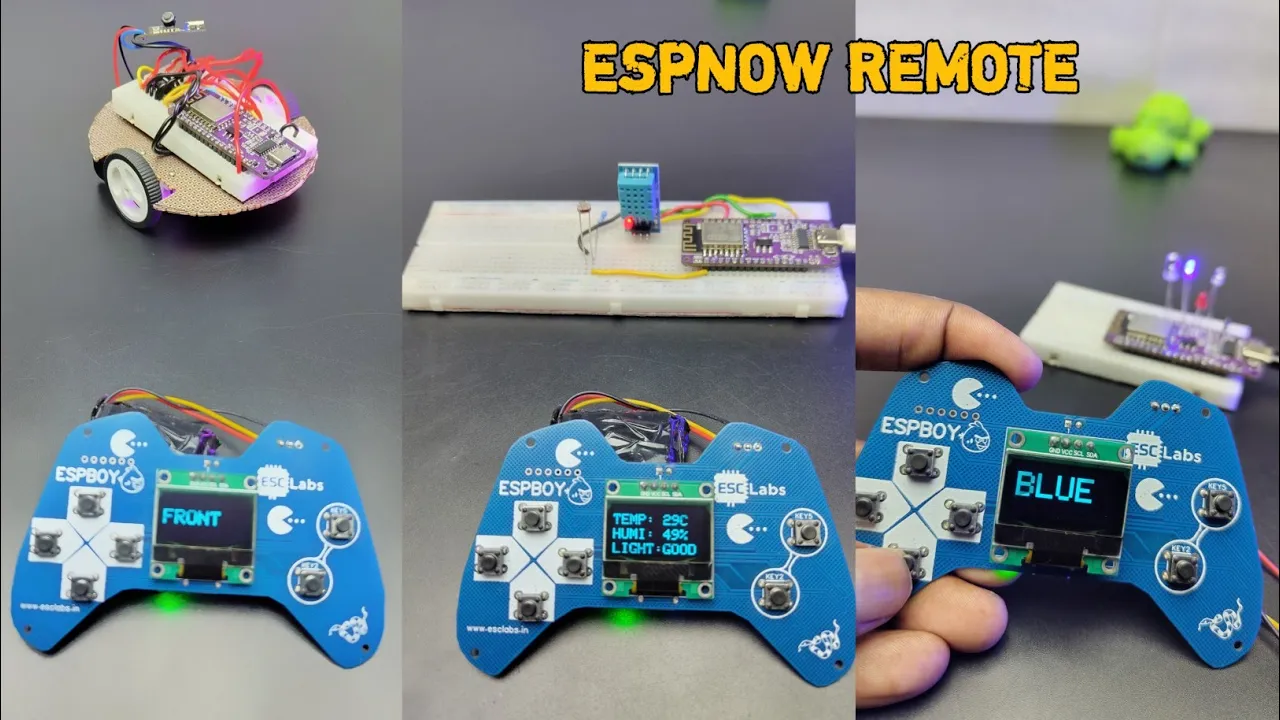
In this tutorial, I am going to build a simple remote controller based on esp8266. with this remote, we can control different types of robots, control other devices and can also receive data and display it on the remote using the inbuilt OLED screen. so let’s see how to make this.
TESTING THE IDEA
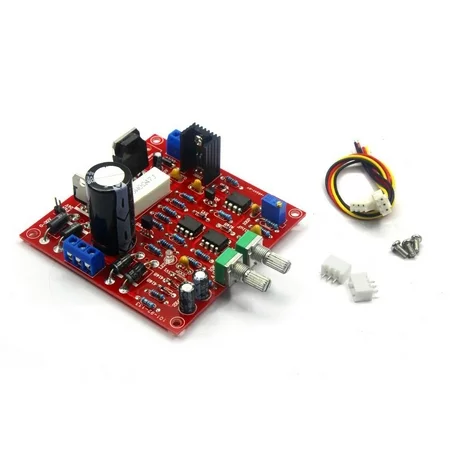
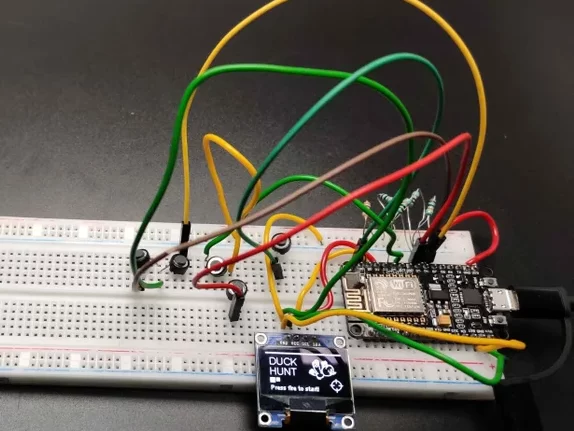
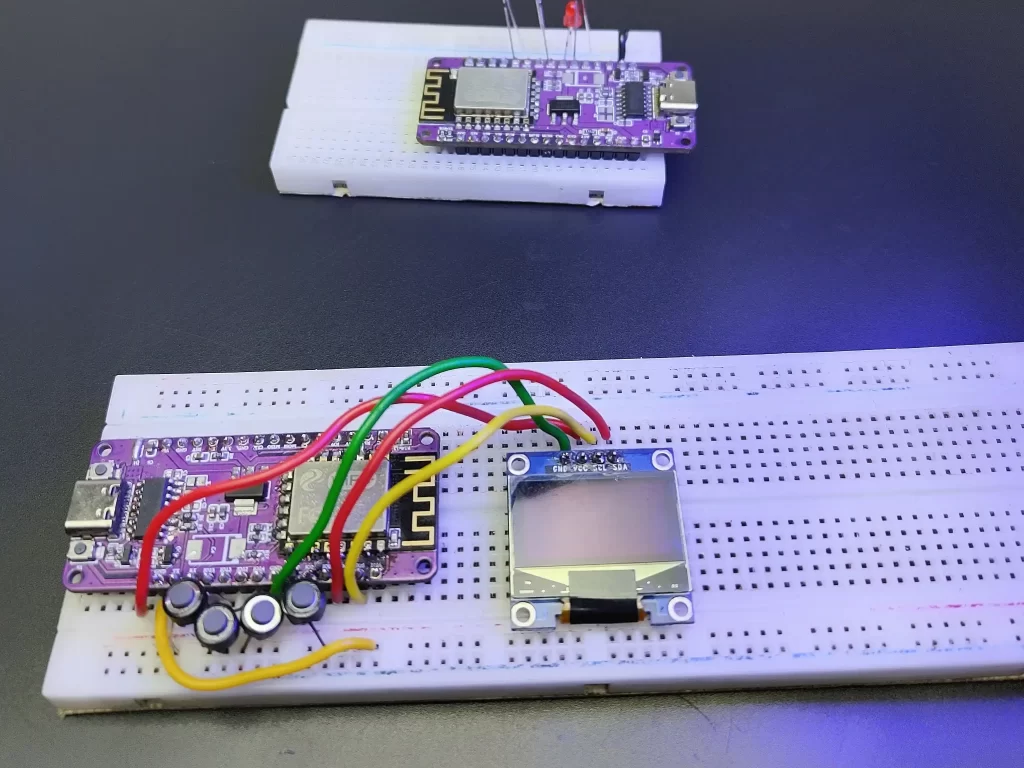
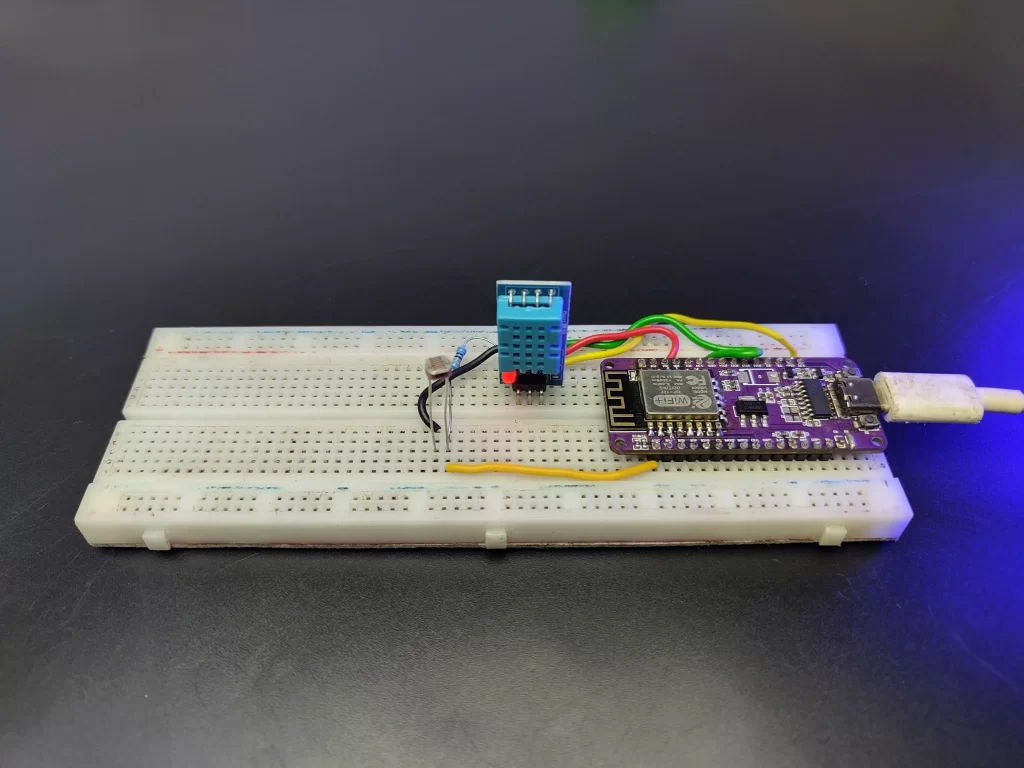
Before going to build the complete circuit permanently I tested the circuit on a breadboard. literally, I experimented on every pin of esp12e. I have changed the circuit according to the behaviour. after some trial and error methods, I have finalized the circuit and components.

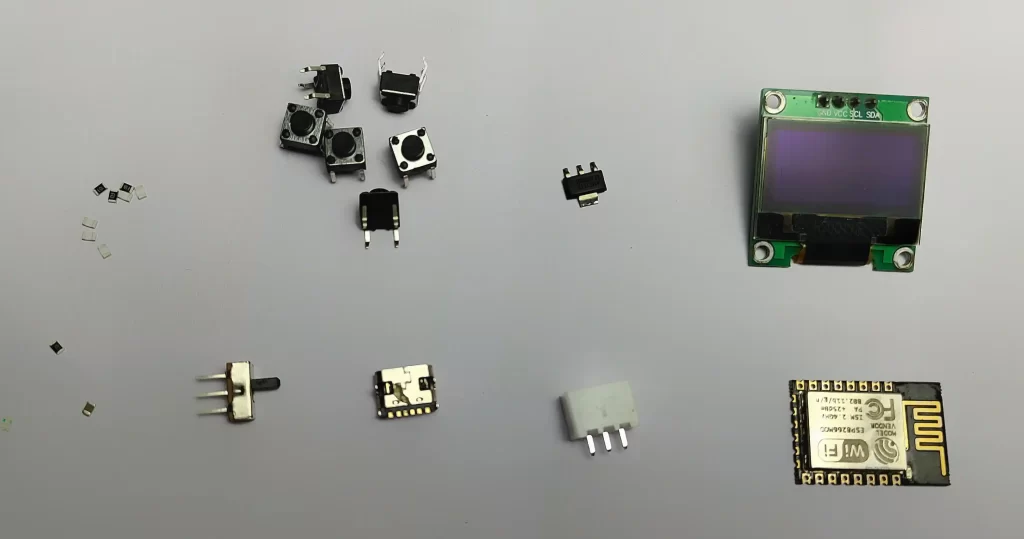
COMPONENTS NEEDED
- ESP12E/12F
- 128*64 OLED
- BUTTON SWITCH*6
- 3.3V AMS1117 REGULATOR
- 0805 SMD RESISTORS-10K*11
- 0805 SMD RESISTORS-1K*1
- 0805 SMD CAPACITOR-100NF*1
- USB TYPE C FEMALE SOCKET
- SWITCH*1
- CUSTOM PCB FROM JLCPCB
CIRCUIT DIAGRAM
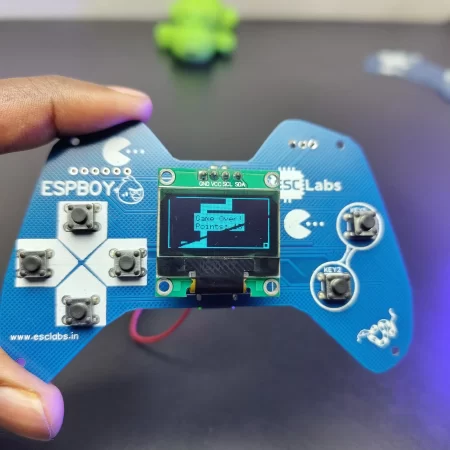
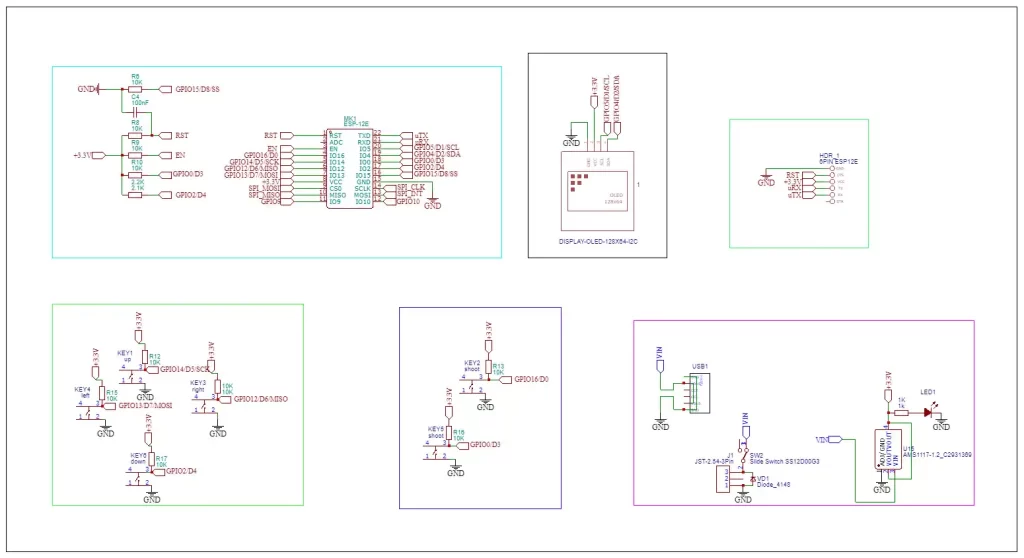
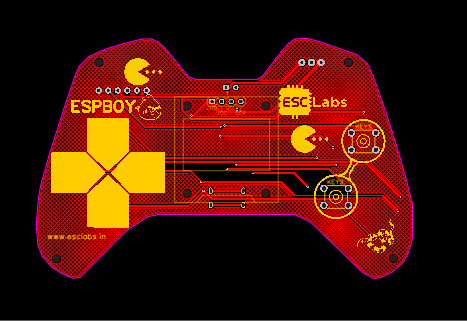
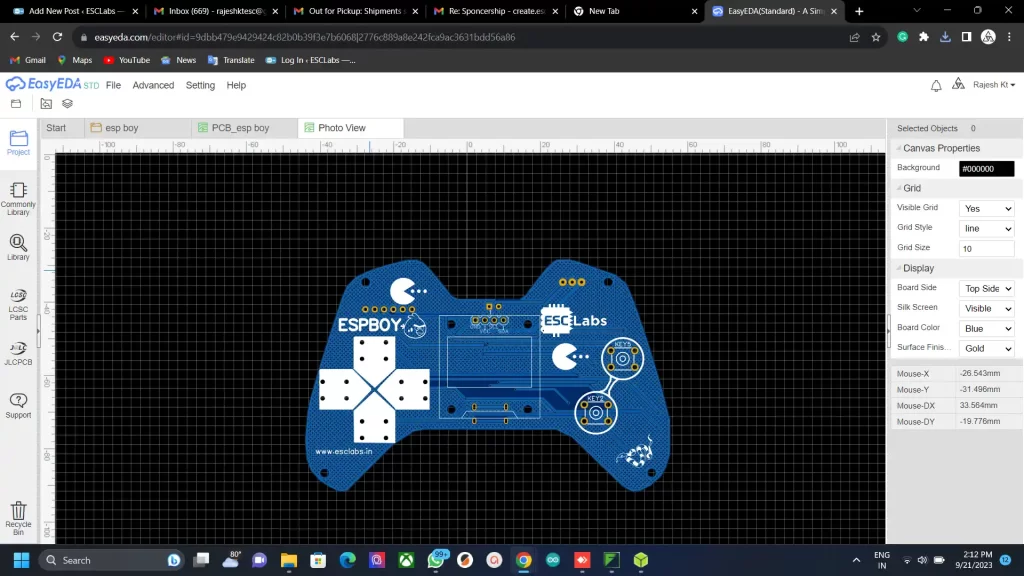
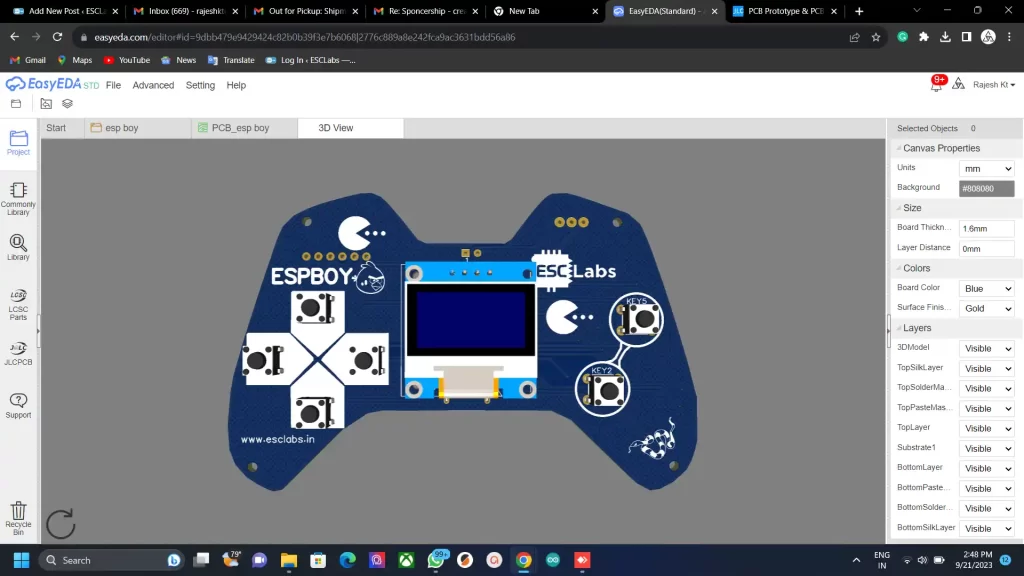
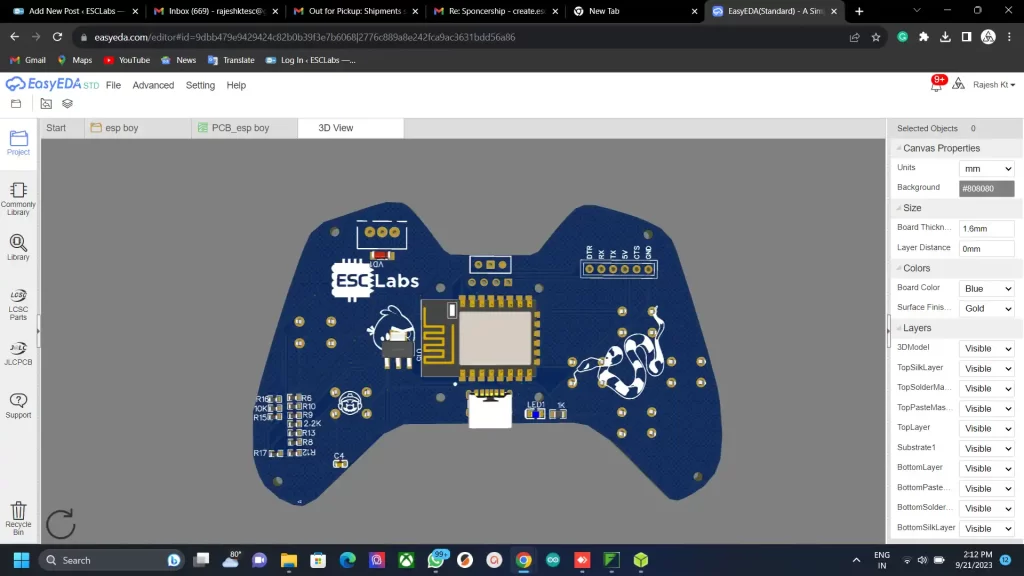
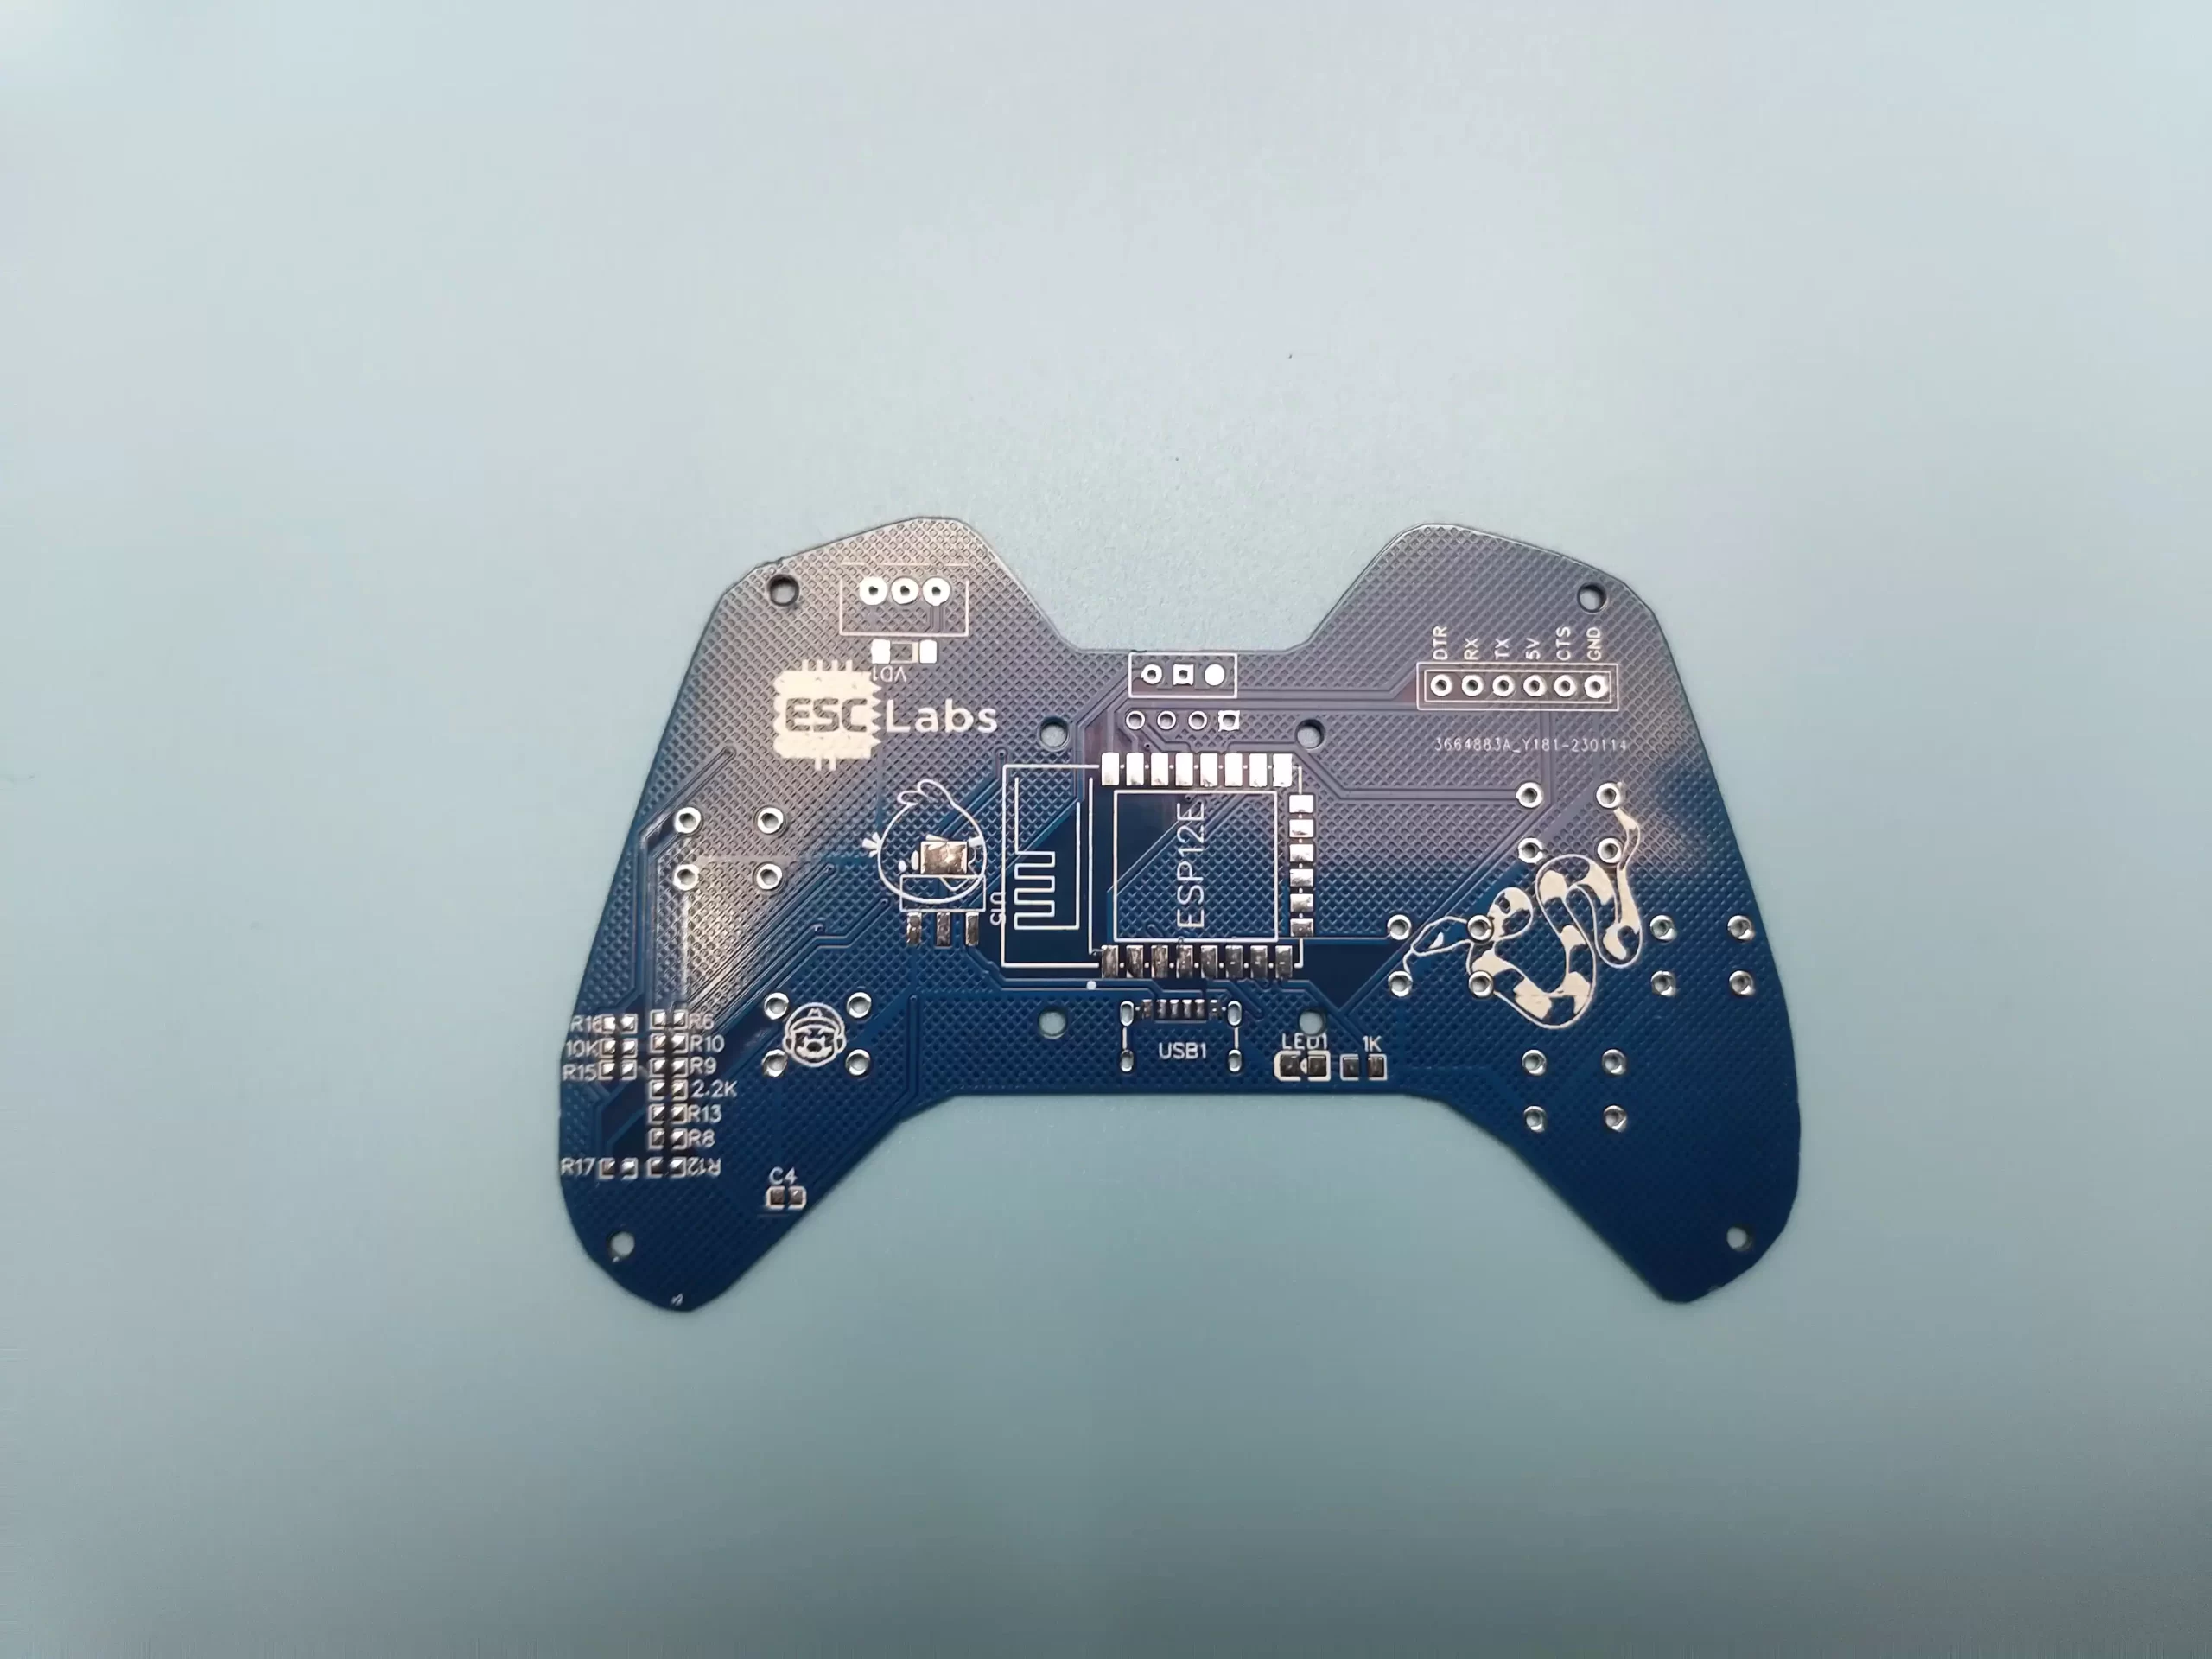
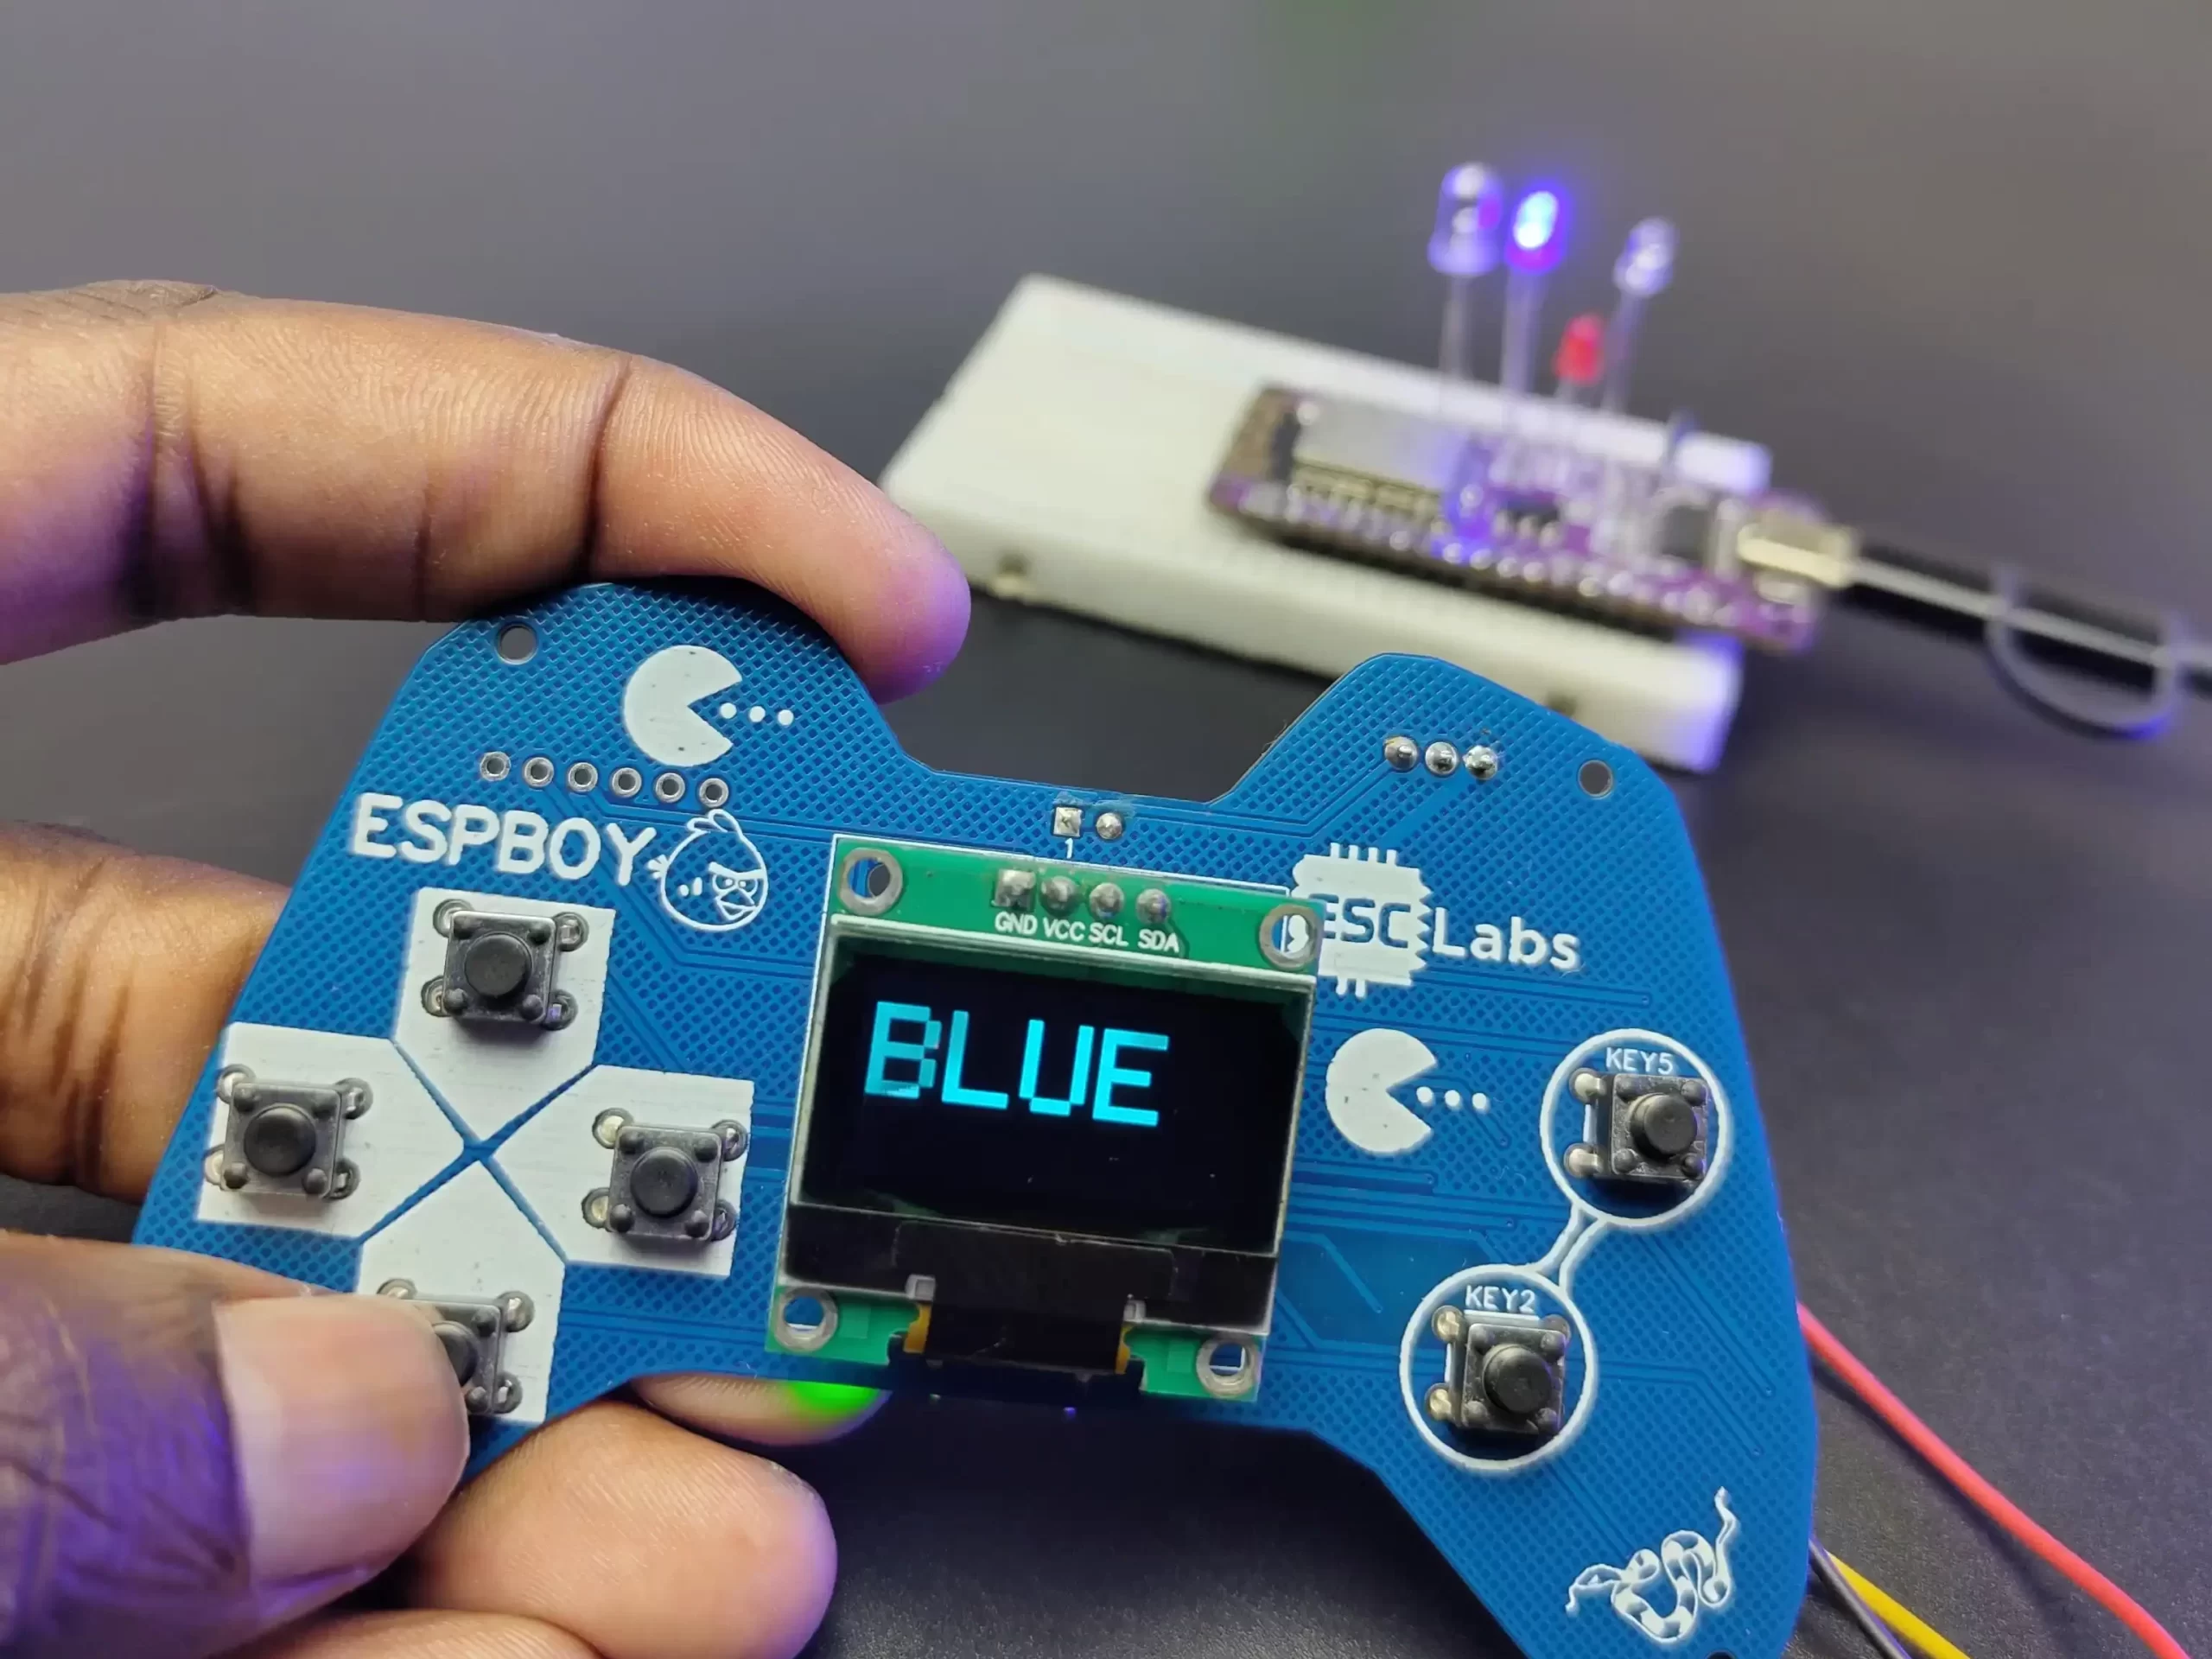
I decided to make a PCB to turn this into a good-looking remote controller. In easyeda, I designed the circuit. The main component or the brain of the controller is the ESP 12e board. I have added the necessary components for esp12e to work as a standalone circuit. I choose esp12e/12f to use the espnow communication. using the espnow communication we can send and receive data to multiple boards without using an extra transceiver module. Then I included the six buttons for controlling the circuit and an OLED display for displaying data I also included a lithium-ion battery socket and a USB type C socket for powering the circuit.
Download the circuit diagram from here
PCB DESIGNING
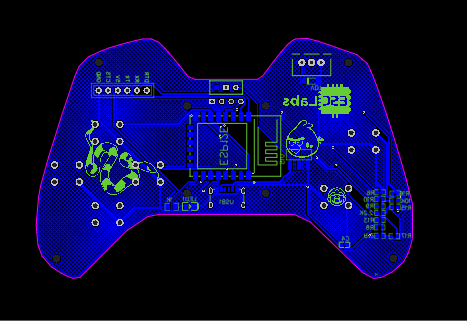
Since this circuit uses some SMD components I decided to make a PCB for it. so After designing the circuit, I converted the circuit diagram into PCB. Here I made the PCB like a real remote controller. So we can use this remote without using any extra support.
After designing the PCB our PCB looks like this. And I downloaded the Gerber file for PCB fabrication.

PCB FABRICATION FROM JLCPCB
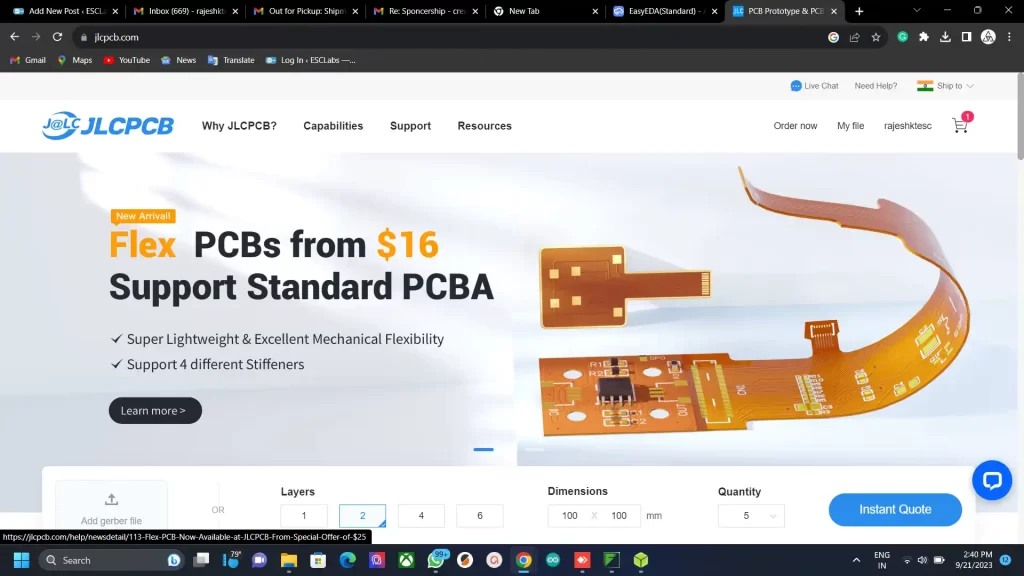
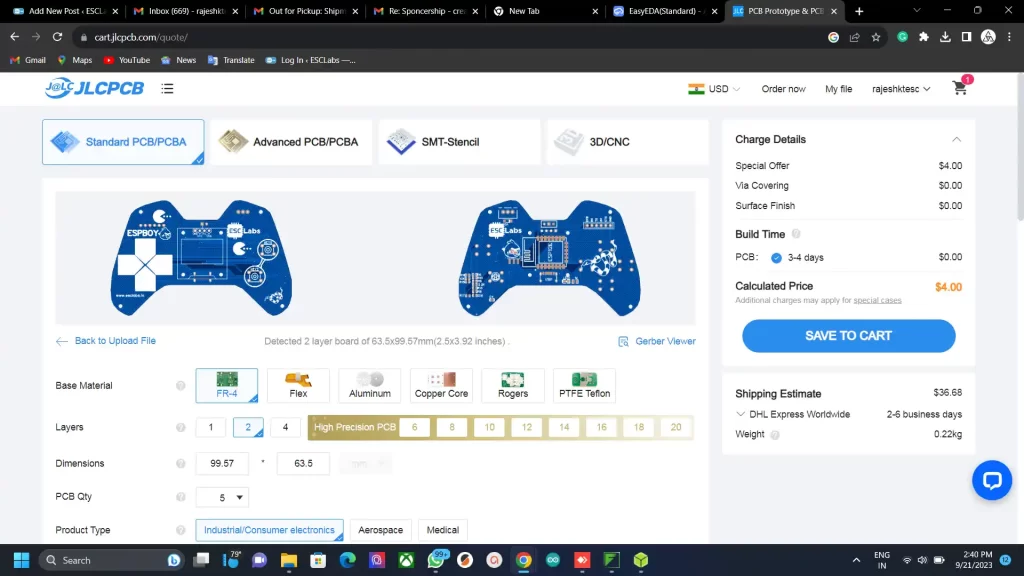
To fabricate PCBs I went to JLCPCB.com. I chose jlcpcb because they offer only 2$ for five high-quality PCB and their PCB assembly starts from 0$. To order PCBs, click on order now and upload the Gerber file. After uploading we can select the quantity, colour, thickness etc. Here I chose the blue colour and selected the shipping method and finally placed the order.
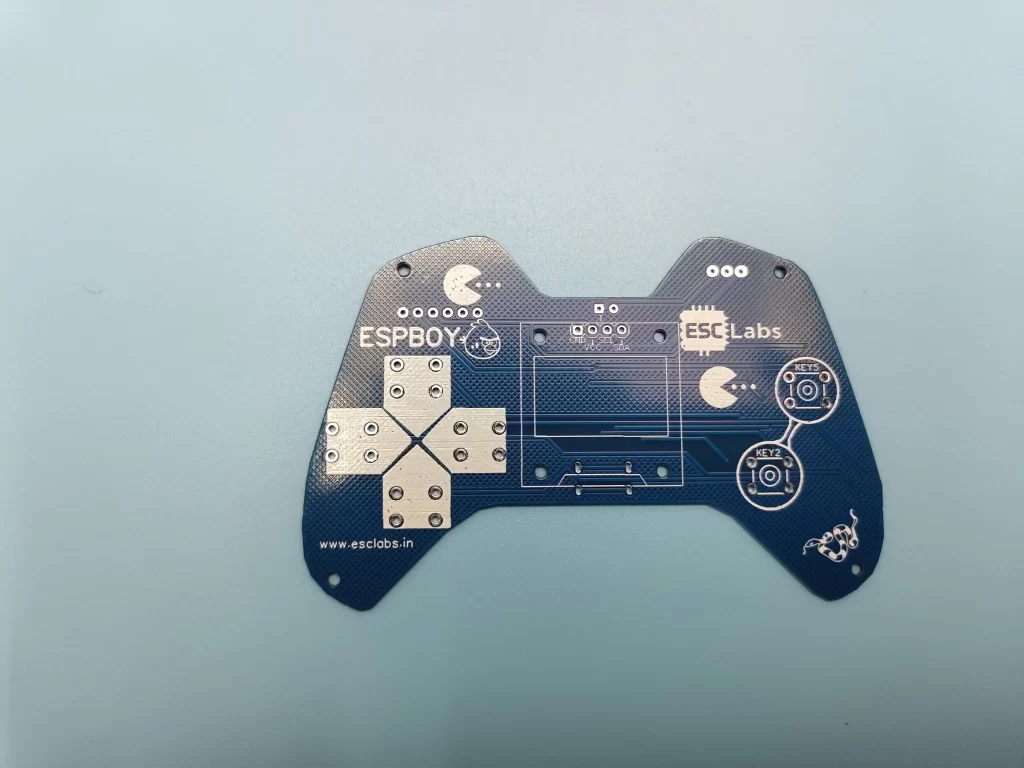
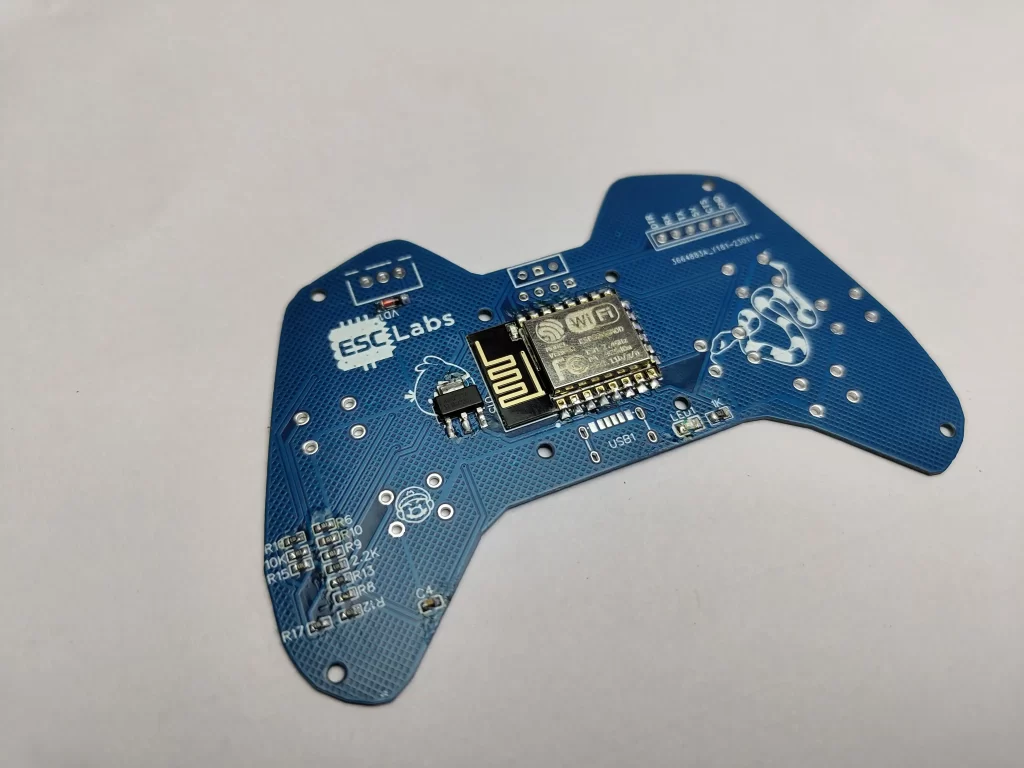
After one week I received the pcbs from jlcpcb. These are the PCBs that I got from jlcpcb.com. These PCBs have excellent quality and strength.
ASSEMBLING THE PCB
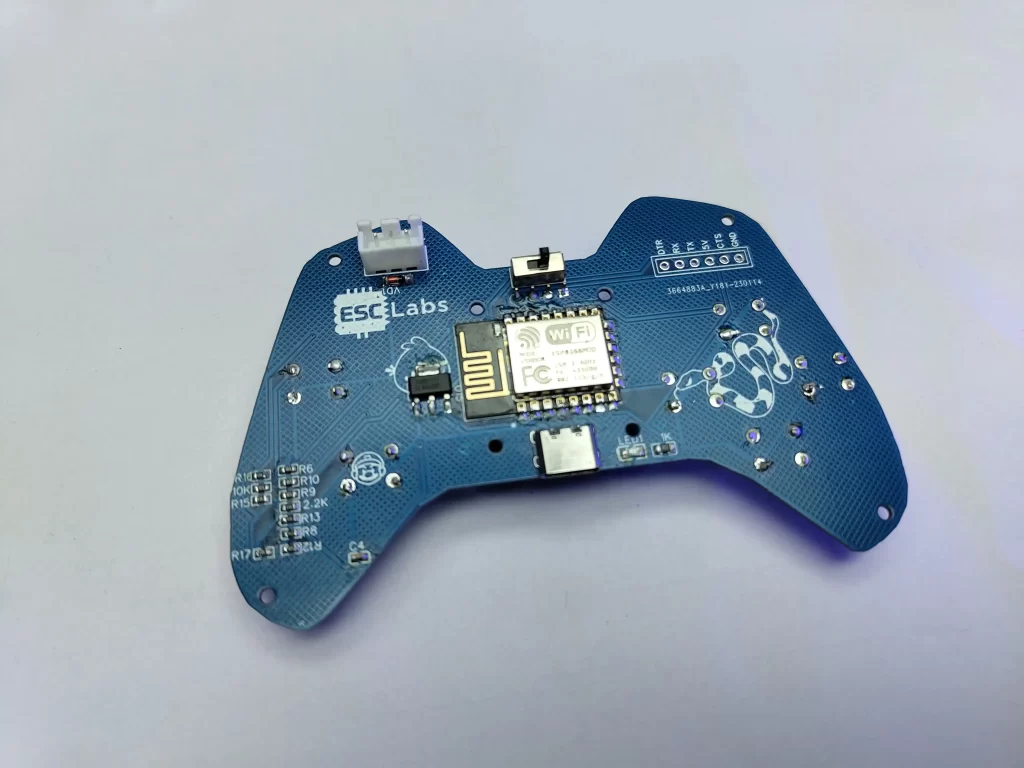
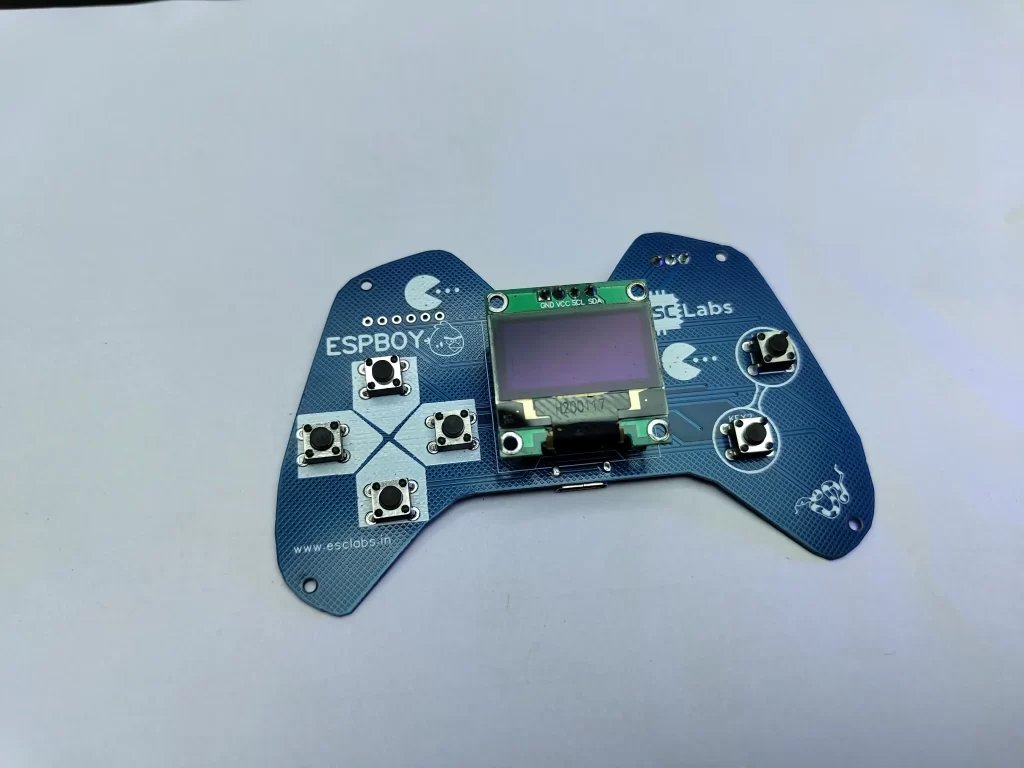
Now let’s solder the components to the PCB. Here you can see most of the components are SMD components so you can solder it by reflow method. But here I am going to solder all components with my soldering iron. I placed all the components one by one and soldered them. I started soldering with the small SMD components. After finishing that I soldered the THT components such as the switch, JST connector etc. finally, I have placed the 128*644 OLED.
PROGRAMMING THE ESP
EXAMPLE 1- CONTROLLING LEDS
In this first example, I am controlling 4 LEDs using our remote controller. The LEDs are connected to an esp8266/nodemcu. we are communicating with the receiver nodemcu via espnow communication. when we press a button on the remote the OLED will display the assigned colour name and also send the corresponding data to the receiver.
Download the code from here
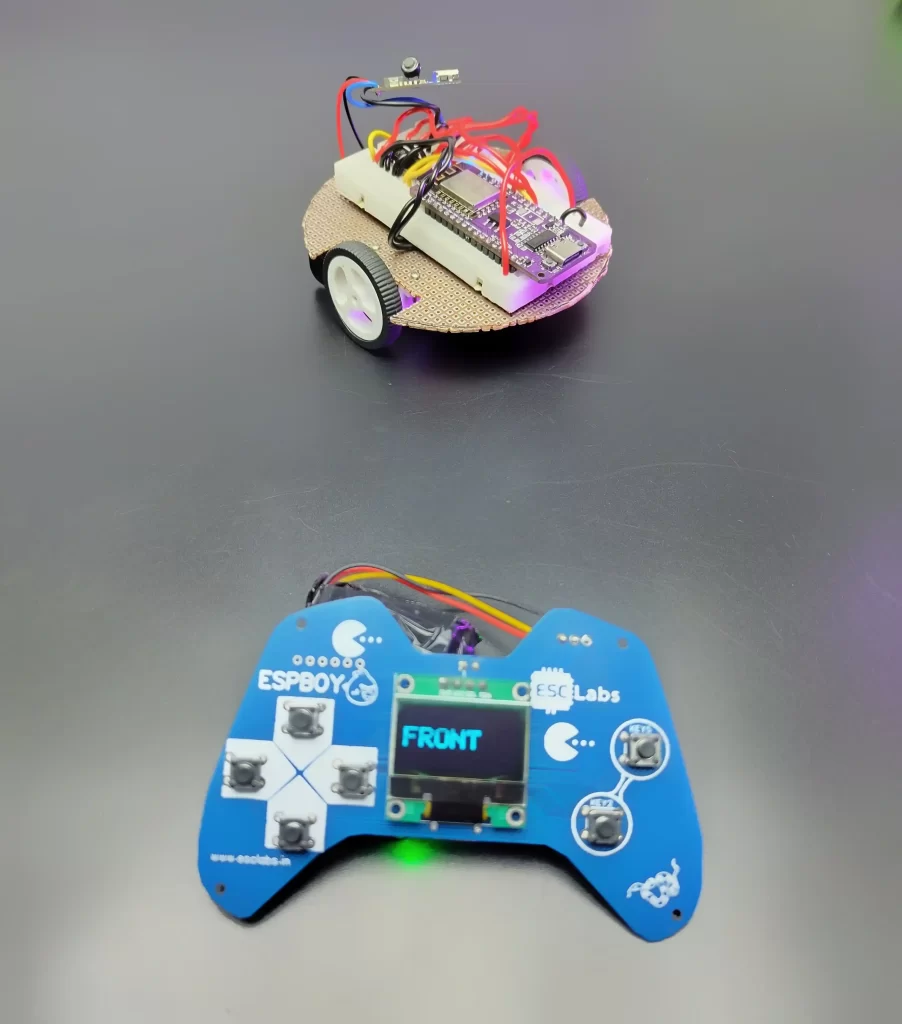
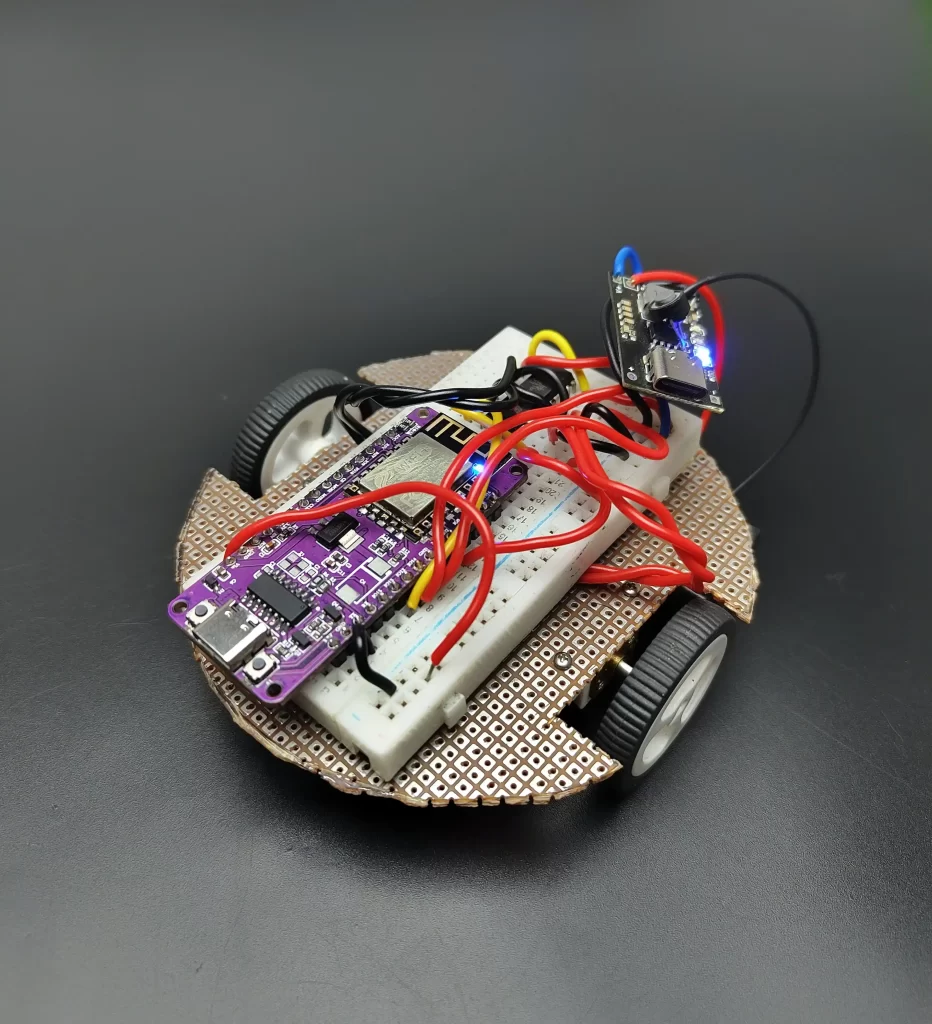
EXAMPLE 2- CONTROLLING ROBOT
In this example, we are controlling a 2 wheel robot using our remote. OLED will display the direction of the robot.
Download the code from here
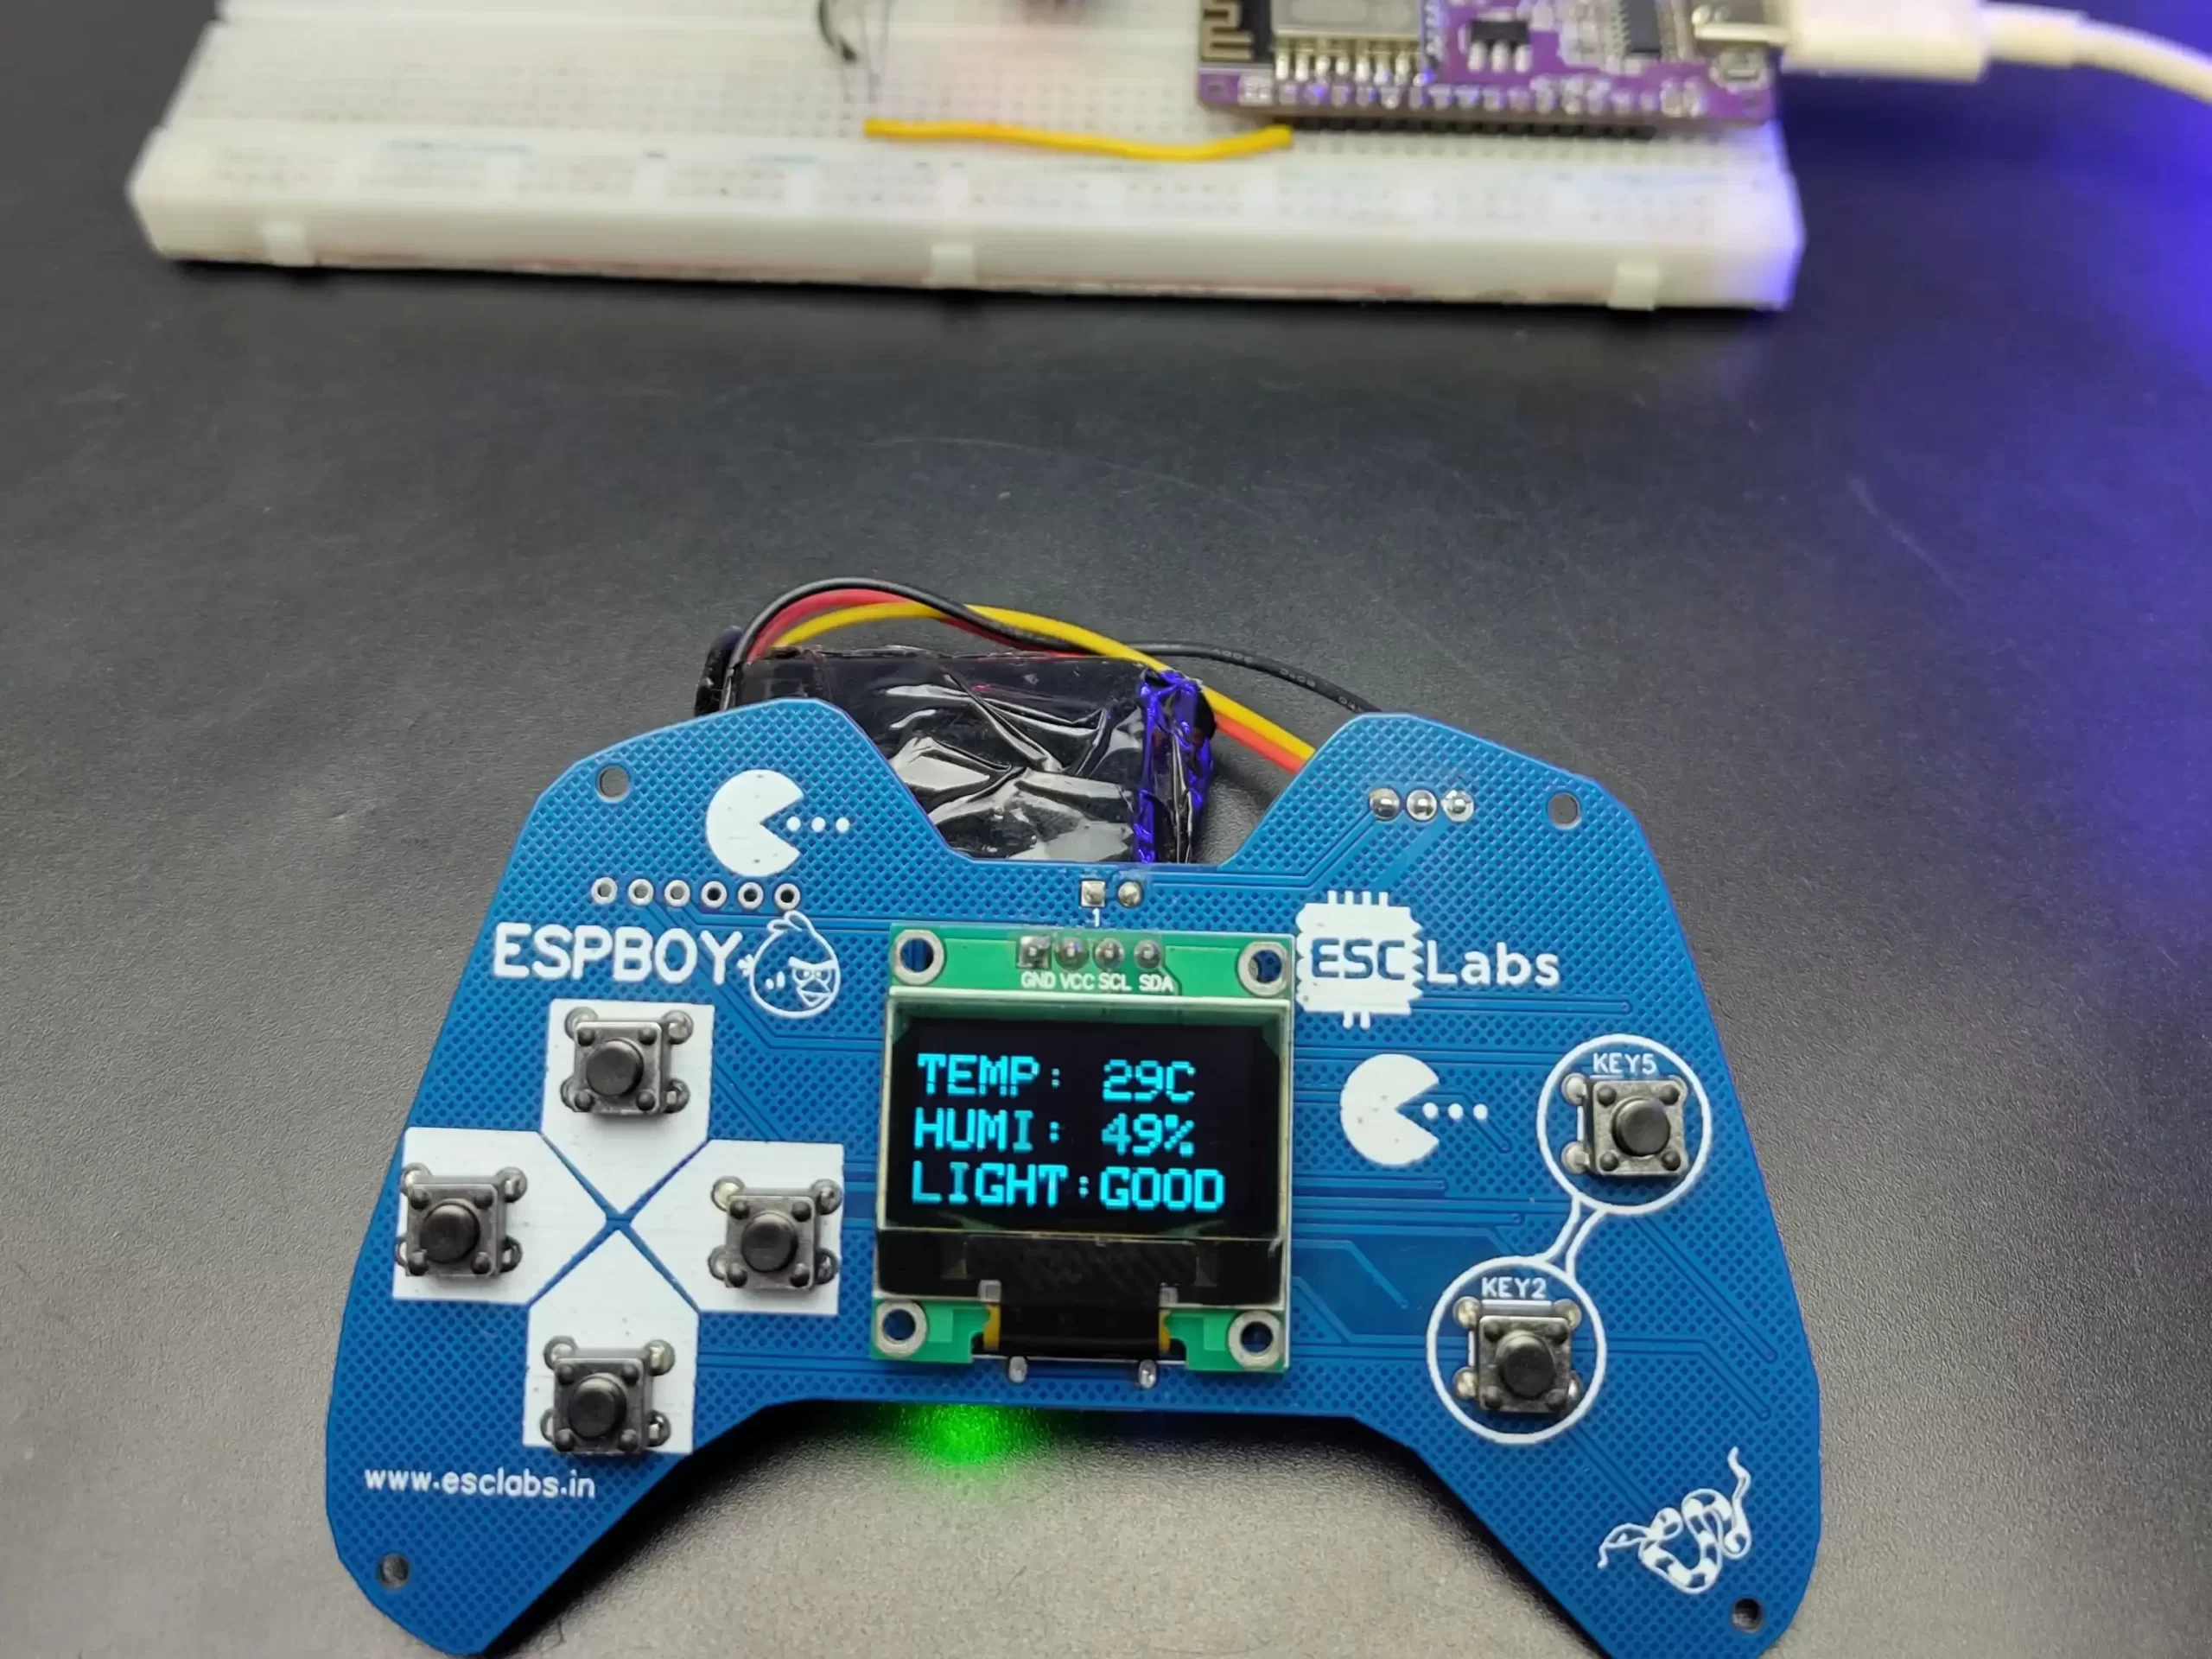
EXAMPLE 3- RECEIVING DATA FROM ANOTHER ESP
In this example, we are displaying the data from a slave nodemcu. in this case, I am reading humidity, temperature and light intensity.
Download the code from here
Leave a comment